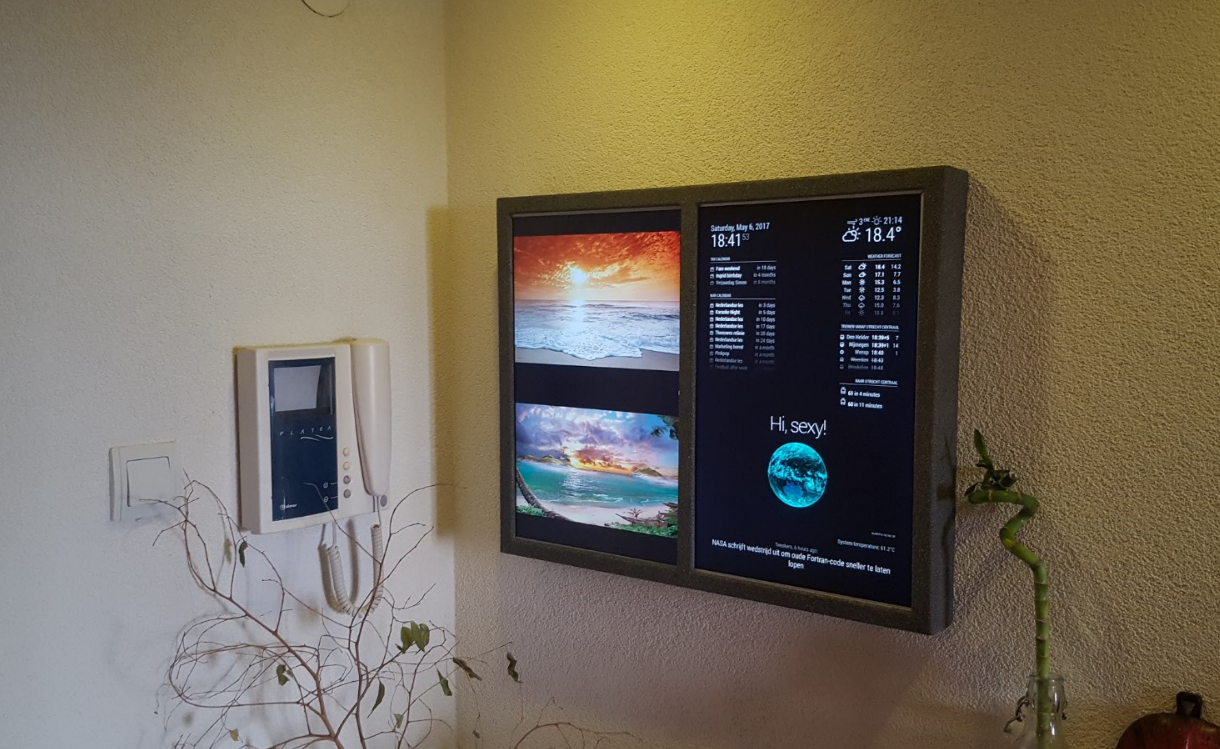
What is it? 
Having some spare monitor’s laying around (from the dumpster), I decided to make a dual wall screen project.
The idea came from the magic mirror project, and was accompanied by a simple image webpage project.

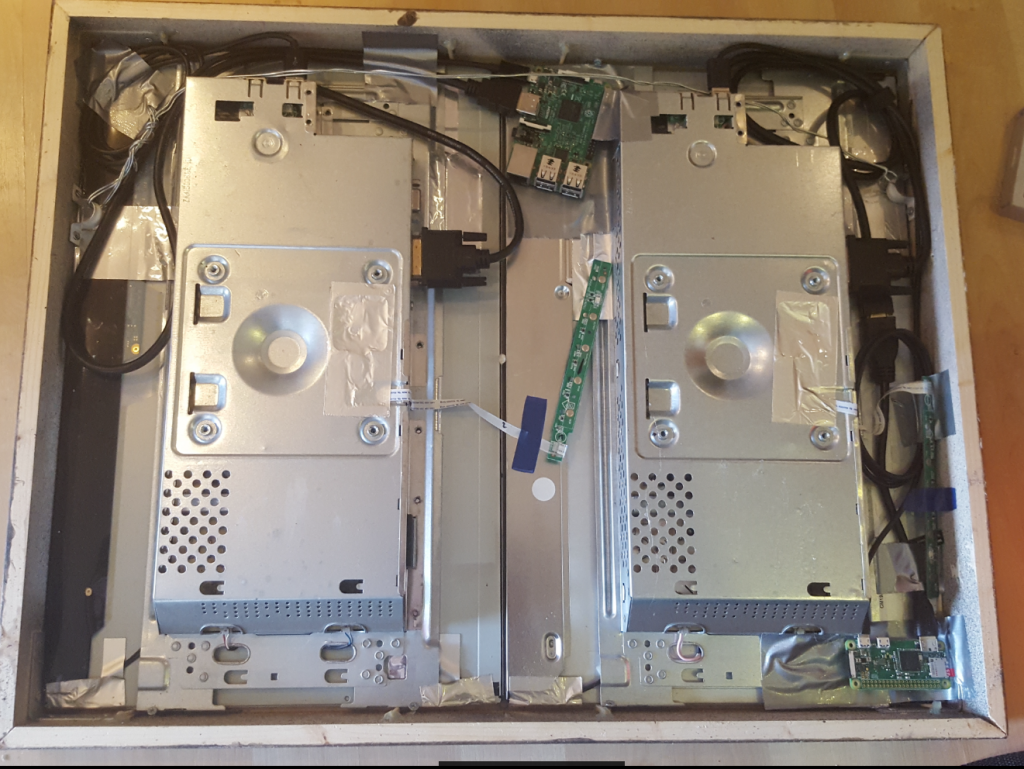
The hardware
- 2 x 19″ monitor with DVI connection
- 1 x Raspberry Pi 3
- 1 x Raspberry Pi Zero W
- 2 x 16 GB micro SD
- 2 x DVI to HDMI (mini) cables
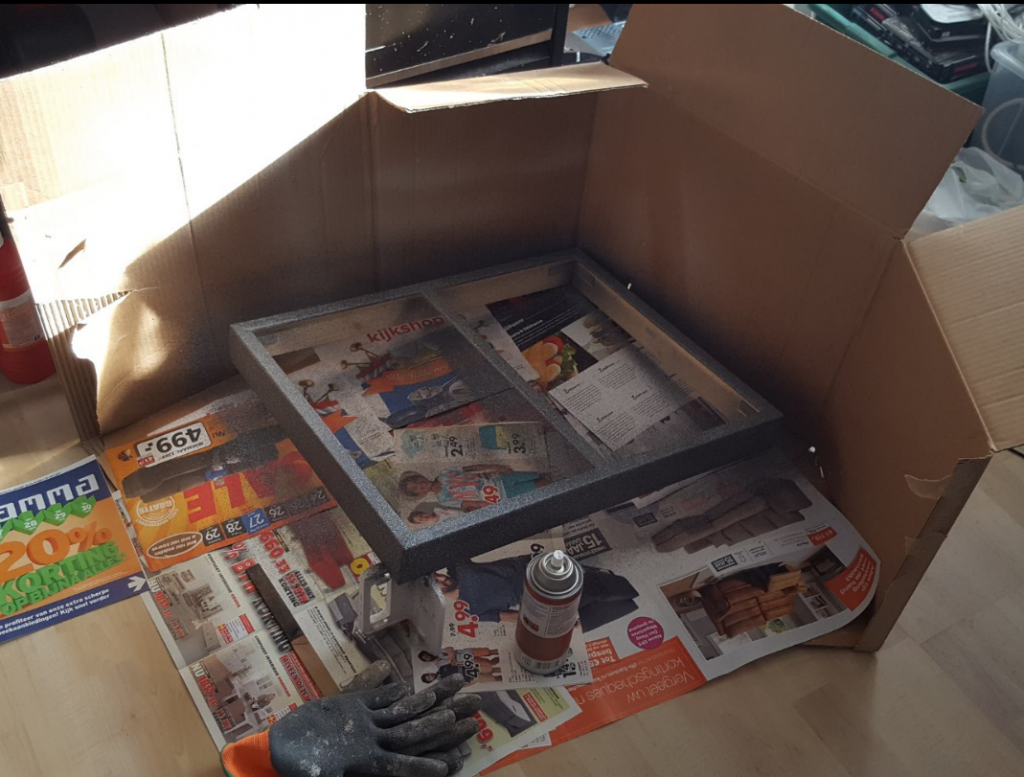
- Wood, iron and paint
- Duct tape
Both the raspberry’s are powered from its respective monitor. The monitor on/off button needs to be connected to an Arduino with motion sensor in a later stage.

Creating the Angular (version 4) webpage
All the code can be found on my github: https://github.com/timdows/RaspiDualPhotoWebpage
The webpage gets a list of available images via express server via http.get(“images.json”), as express can read files from disk, it can send back all available images recursively.
This list is then used to populate the top and bottom image arrays used on the webpage itself.
The images rotate with a simple setTimout function. On the Pi Zero I noticed that chaning both images at the same time is a bit to much to ask, so only one image changes at a time.
While changing the image, it has a nice transform effect to make it look smooth (although this is also a heavy task for the Pi Zero).
Create the project
For this I used the angular-cli, based on EmberCLI it enables developers to focus on creating code:
A good browser framework is important. But building ambitious web applications also requires excellent tooling and processes. Ember CLI wraps all of this (and much more) into a developer-friendly command-line package.
- Project/Addon creation: create new projects quickly without having to worry about project structure;
- Build pipeline: asset compilation, finger-printing and more out of the box;
- Generators: use the built-in generators and get files that follow the latest practices, and matching tests.
Creating the project was as easy as running:
ng new RaspiDualPhotoWebpage
Change project defaults to use sass
I prefer sass over css, combined with the scss syntax.
There are two syntaxes available for Sass. The first, known as SCSS (Sassy CSS) and used throughout this reference, is an extension of the syntax of CSS. This means that every valid CSS stylesheet is a valid SCSS file with the same meaning. In addition, SCSS understands most CSS hacks and vendor-specific syntax, such as IE’s old
filtersyntax. This syntax is enhanced with the Sass features described below. Files using this syntax have the.scssextension.The second and older syntax, known as the indented syntax (or sometimes just “Sass”), provides a more concise way of writing CSS. It uses indentation rather than brackets to indicate nesting of selectors, and newlines rather than semicolons to separate properties. Some people find this to be easier to read and quicker to write than SCSS. The indented syntax has all the same features, although some of them have slightly different syntax; this is described in the indented syntax reference. Files using this syntax have the
.sassextension.
To change the existing project I simply run:
npm install node-sass --save-dev

ng set defaults.styleExt scss
Enable pug support
As I love pug for my html templating
Pug is a clean, whitespace sensitive syntax for writing html.
It is a high performance template engine heavily influenced by Haml and implemented with JavaScript for Node.js and browsers.
Unfortunately there is no angular-cli command to enable pug, but it is easily done by hand.
Starting with the installation of the modules:
npm install --save-dev pug pug-html-loader
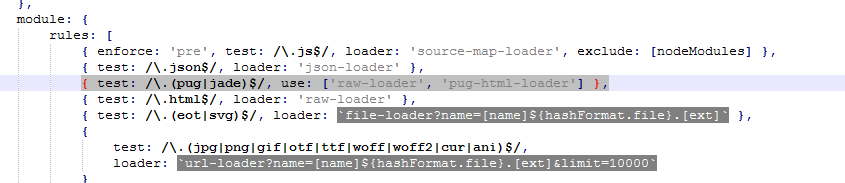
Next the webpack common.js file has to be modified.
This file can be found at:
RaspiDualPhotoWebpage\node_modules\@angular\cli\models\webpack-configs\common.js
The line to add to the rules:
{ test: /\.(pug|jade)$/, use: ['raw-loader', 'pug-html-loader'] },
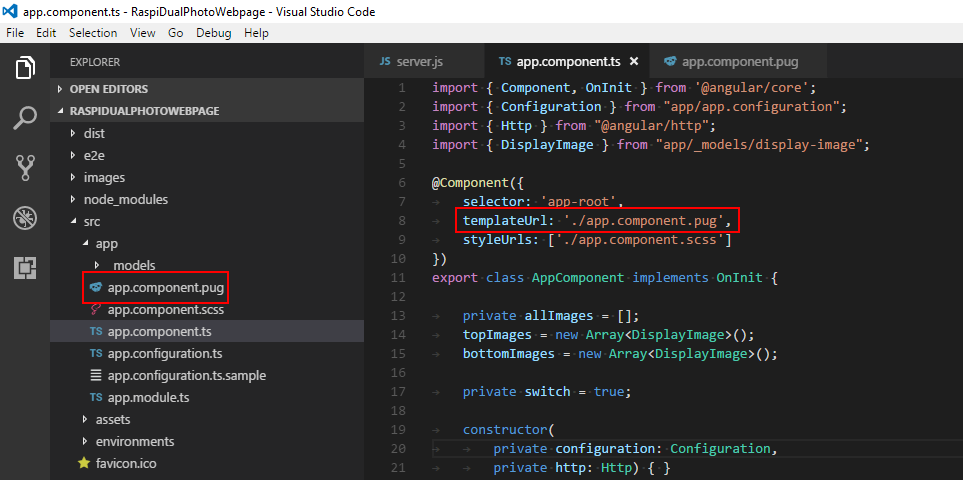
It is now as easy as renaming the template of the components.
Configure express server to host the webpage
After having a production build of the Angular application, with ng build –prod, it can be served by a webserver. I picked express server for nodejs to accomplish this.
As I am running on a ARMv6 environment (Raspberry Pi Zero W), I needed some custom installation instructions to get node and npm installed. Luckily I found an easy installation https://github.com/sdesalas/node-pi-zero. After this it is as easy as installing express via npm:
npm install express --save
It is then as easy as running it:
node server.js
Start the browser fullscreen
As easy as running:
chromium-browser --app=http://localhost:3000 --start-fullscreen
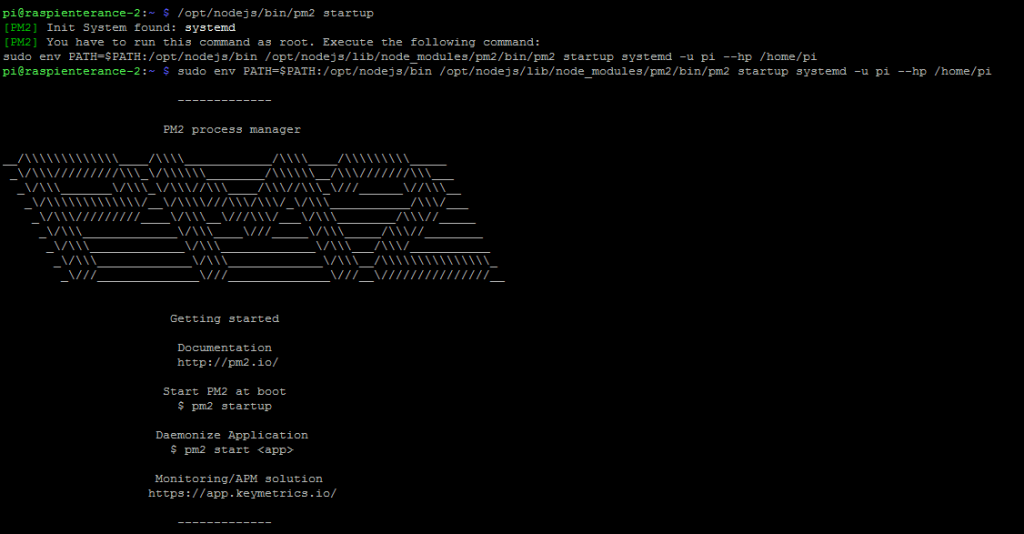
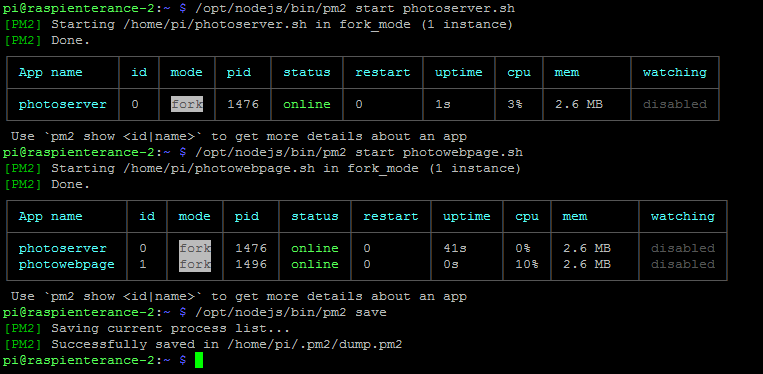
Startup on boot
I use pm2 for this. With two executable scripts the configuration is as follows:
cd ~/RaspiDualPhotoWebpage

node server.js
sleep 30

DISPLAY=:0 chromium-browser --app=http://localhost:3000 --start-fullscreen
Installation and configuration:
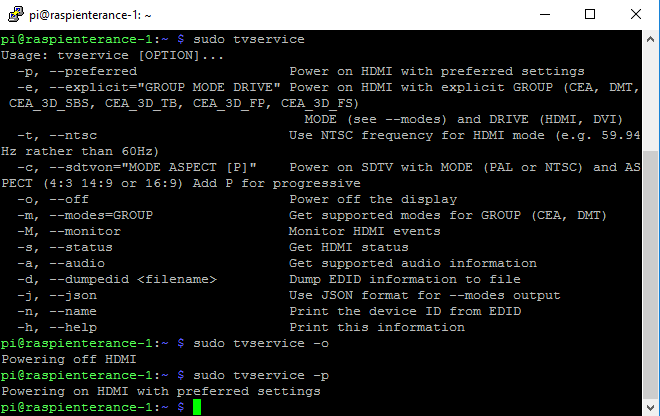
Turning the monitor on and off
With the use of the tvservice command, we can just remove the HDMI signal. The monitor will then go to sleep, waiting for the HDMI signal to come back on.
In the server.js file there is a part that turns the monitor on for 5 minutes.
When my home automation system makes a request to ip:port/display-on-timer, the HDMI signal will be turned on for 300 seconds and a interval will make sure that it counts down. This time can be reset to 300 seconds when the request to display-on-timer is made.
Resize images with imagemagic
I found that showing two images, both around 8+ MB, is creating a lag for the Pi Zero.
As the screen it will be displayed doesn’t need this size pictures, I went to the effort to resize them with imagemagic.
sudo apt-get install imagemagick

find . -type f -exec convert {} -resize 800 {} \;
Project costs in €
| Object | Price |
|---|---|
| 2 x HP Compaq LA1905wg | Free |
| 1 x Raspberry Pi 3 | € 39.95 |
| 1 x Raspberry Pi Zero W | € 11 |
| 2 x 16 GB SD Card | € 18 |
| 2 x DVI – HDMI cable | € 17.90 |
| Other materials | € 15 |
| Total | € 101.85 |