What is it? 
The wifi button controller project is a button pad / slider controller for some of the lights around my house.
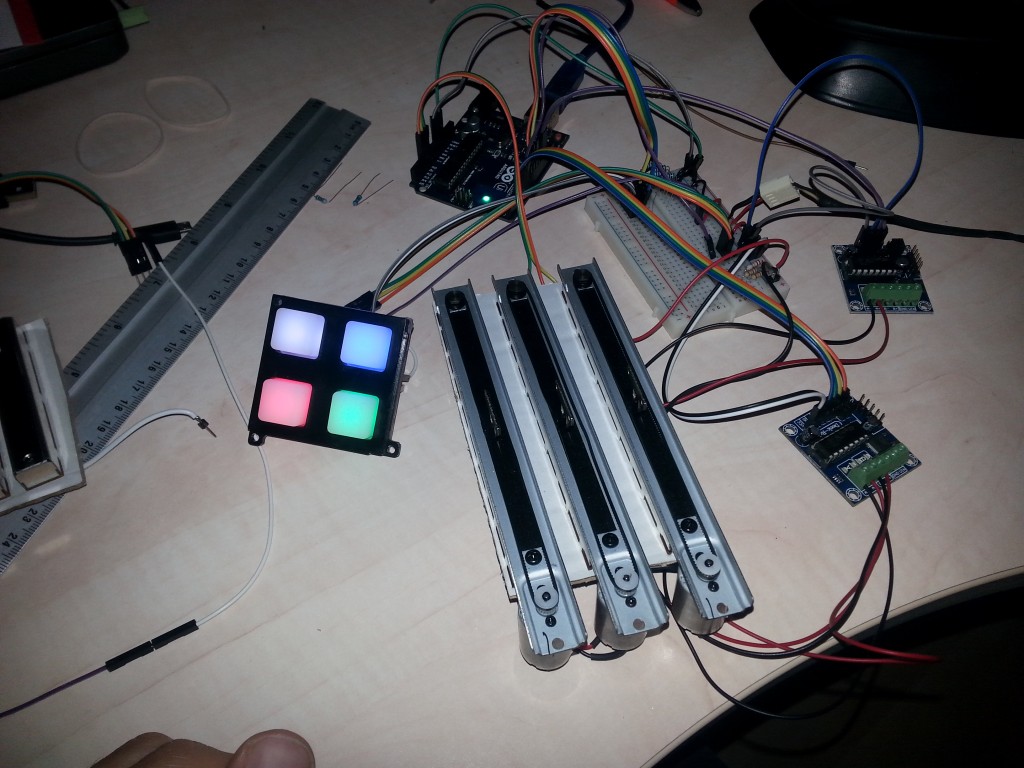
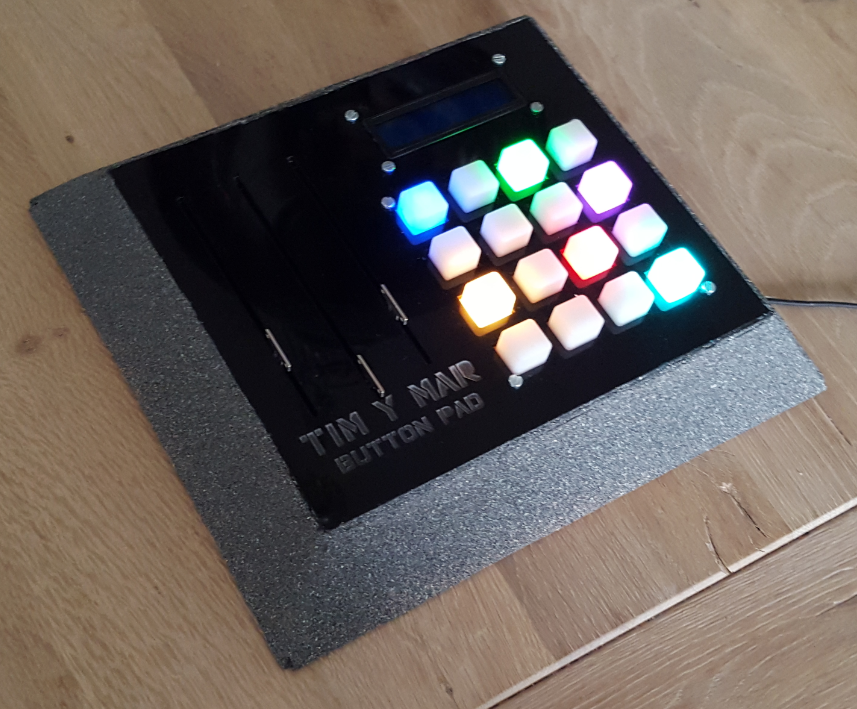
Every button (in a 4 by 4 grid) represents a light source around the house that can be controlled via my Vera3. Upon a button press, the 100mm linear motorized sliders will then automatically go to the current RGB values for that light source. Upon a change in the slider, the ESP8266 is instructed to send the new values to the Vera3.
Eagle layout 
Arduino and Lua code 
All the code can be found on my github page: https://github.com/timdows/AMD/tree/master/WifiBottonController
The Fader is created three times (Red, Green and Blue). The fader is updated via a state-machine concept every loop cycle.
It can be forced to set an analog value that via a lookup table is set to a percentage between 0 and 100.
Every loop cycle it checkes if the motor values should be updated.
The L293D controles the motors, it is controlled by the Fader class. Every fader has its dedicated motor.
It also uses a state-machine concept to monitor the running time.
The SoftButton class represents the physical button itself, therefor it is created 16 times.
It checks if a color should be set to the representing WS2801 led below it or that the new values from the slider have to be send to the Vera3, this is done by writing on the serial line of the Arduino where the ESP8266 is listening on.
The wifi_button_controller itself initializes all the components and steps through the 4 by 4 grid in order to detect a button press. Upon a button press the faders are set to the corresponding last known position.
The ESP8266 init.lua sets up the wifi connection and only has the setLed function. This function is called when a setLed command is written on the serial line between the Arduino and the ESP8266.
End result 


2d laser cut 
Drawn in tinkercad https://www.tinkercad.com/things/gkIXf8NY1p1-buttonpad

TODO 
- The 2 line LCD display could not be hooked up to the Arduino as I simply did not have any pins available. This has to be done by e.g. a second Arduino, but how will they then communicate with each other? Another possibility is changing the mini for a mega;
- If a light source is a normal dimmable light bulb, only the first slider should accept an action;
- If the Arduino loses power, it forgets the state of the light source. Also a change of the light source outside of the buttonpad does not affect the sliders position. Every time a button is pressed, the current RGB values should be requested from the Vera3;
- Some led projects around the house can handle some scenes, a row of buttons could be dedicated for a total of four scenes under the selected light source;
- Put some nice covers buttons on the sliders itself.
Project costs in € or $ 
| Object | Price |
|---|---|
| Arduino Pro Mini 5v | $ 1.92 |
| ESP8266 | $ 2.89 |
| 3d print including engraving | € 37.07 |
| 2x L293D | $ 4.86 |
| 16x WS2812B leds | $ 2.13 |
| 4 x 4 softbuttons | $ 9.95 |
| 4 x 4 buttonpad PCB | $ 9.95 |
| 3x 100mm Behringer X32 motorized sliders | € 71.40 |
| 4x 5V Lithium rechargeable batteries | ? |
| 5V Mini USB 1A lithium battery charging board | $ 0.39 |
| LM1117T 3.3V | $ 0.33 |
| Other materials | $ 7 |
| Total | $ 148.35 |
What could be better 
- The protoboard and batteries are now flying around, they could be mounted in some way to the case;
- The loop to find a pressed button should be taken out of this project, a separate IC should handle this and report back to the Arduino


Comments are closed.