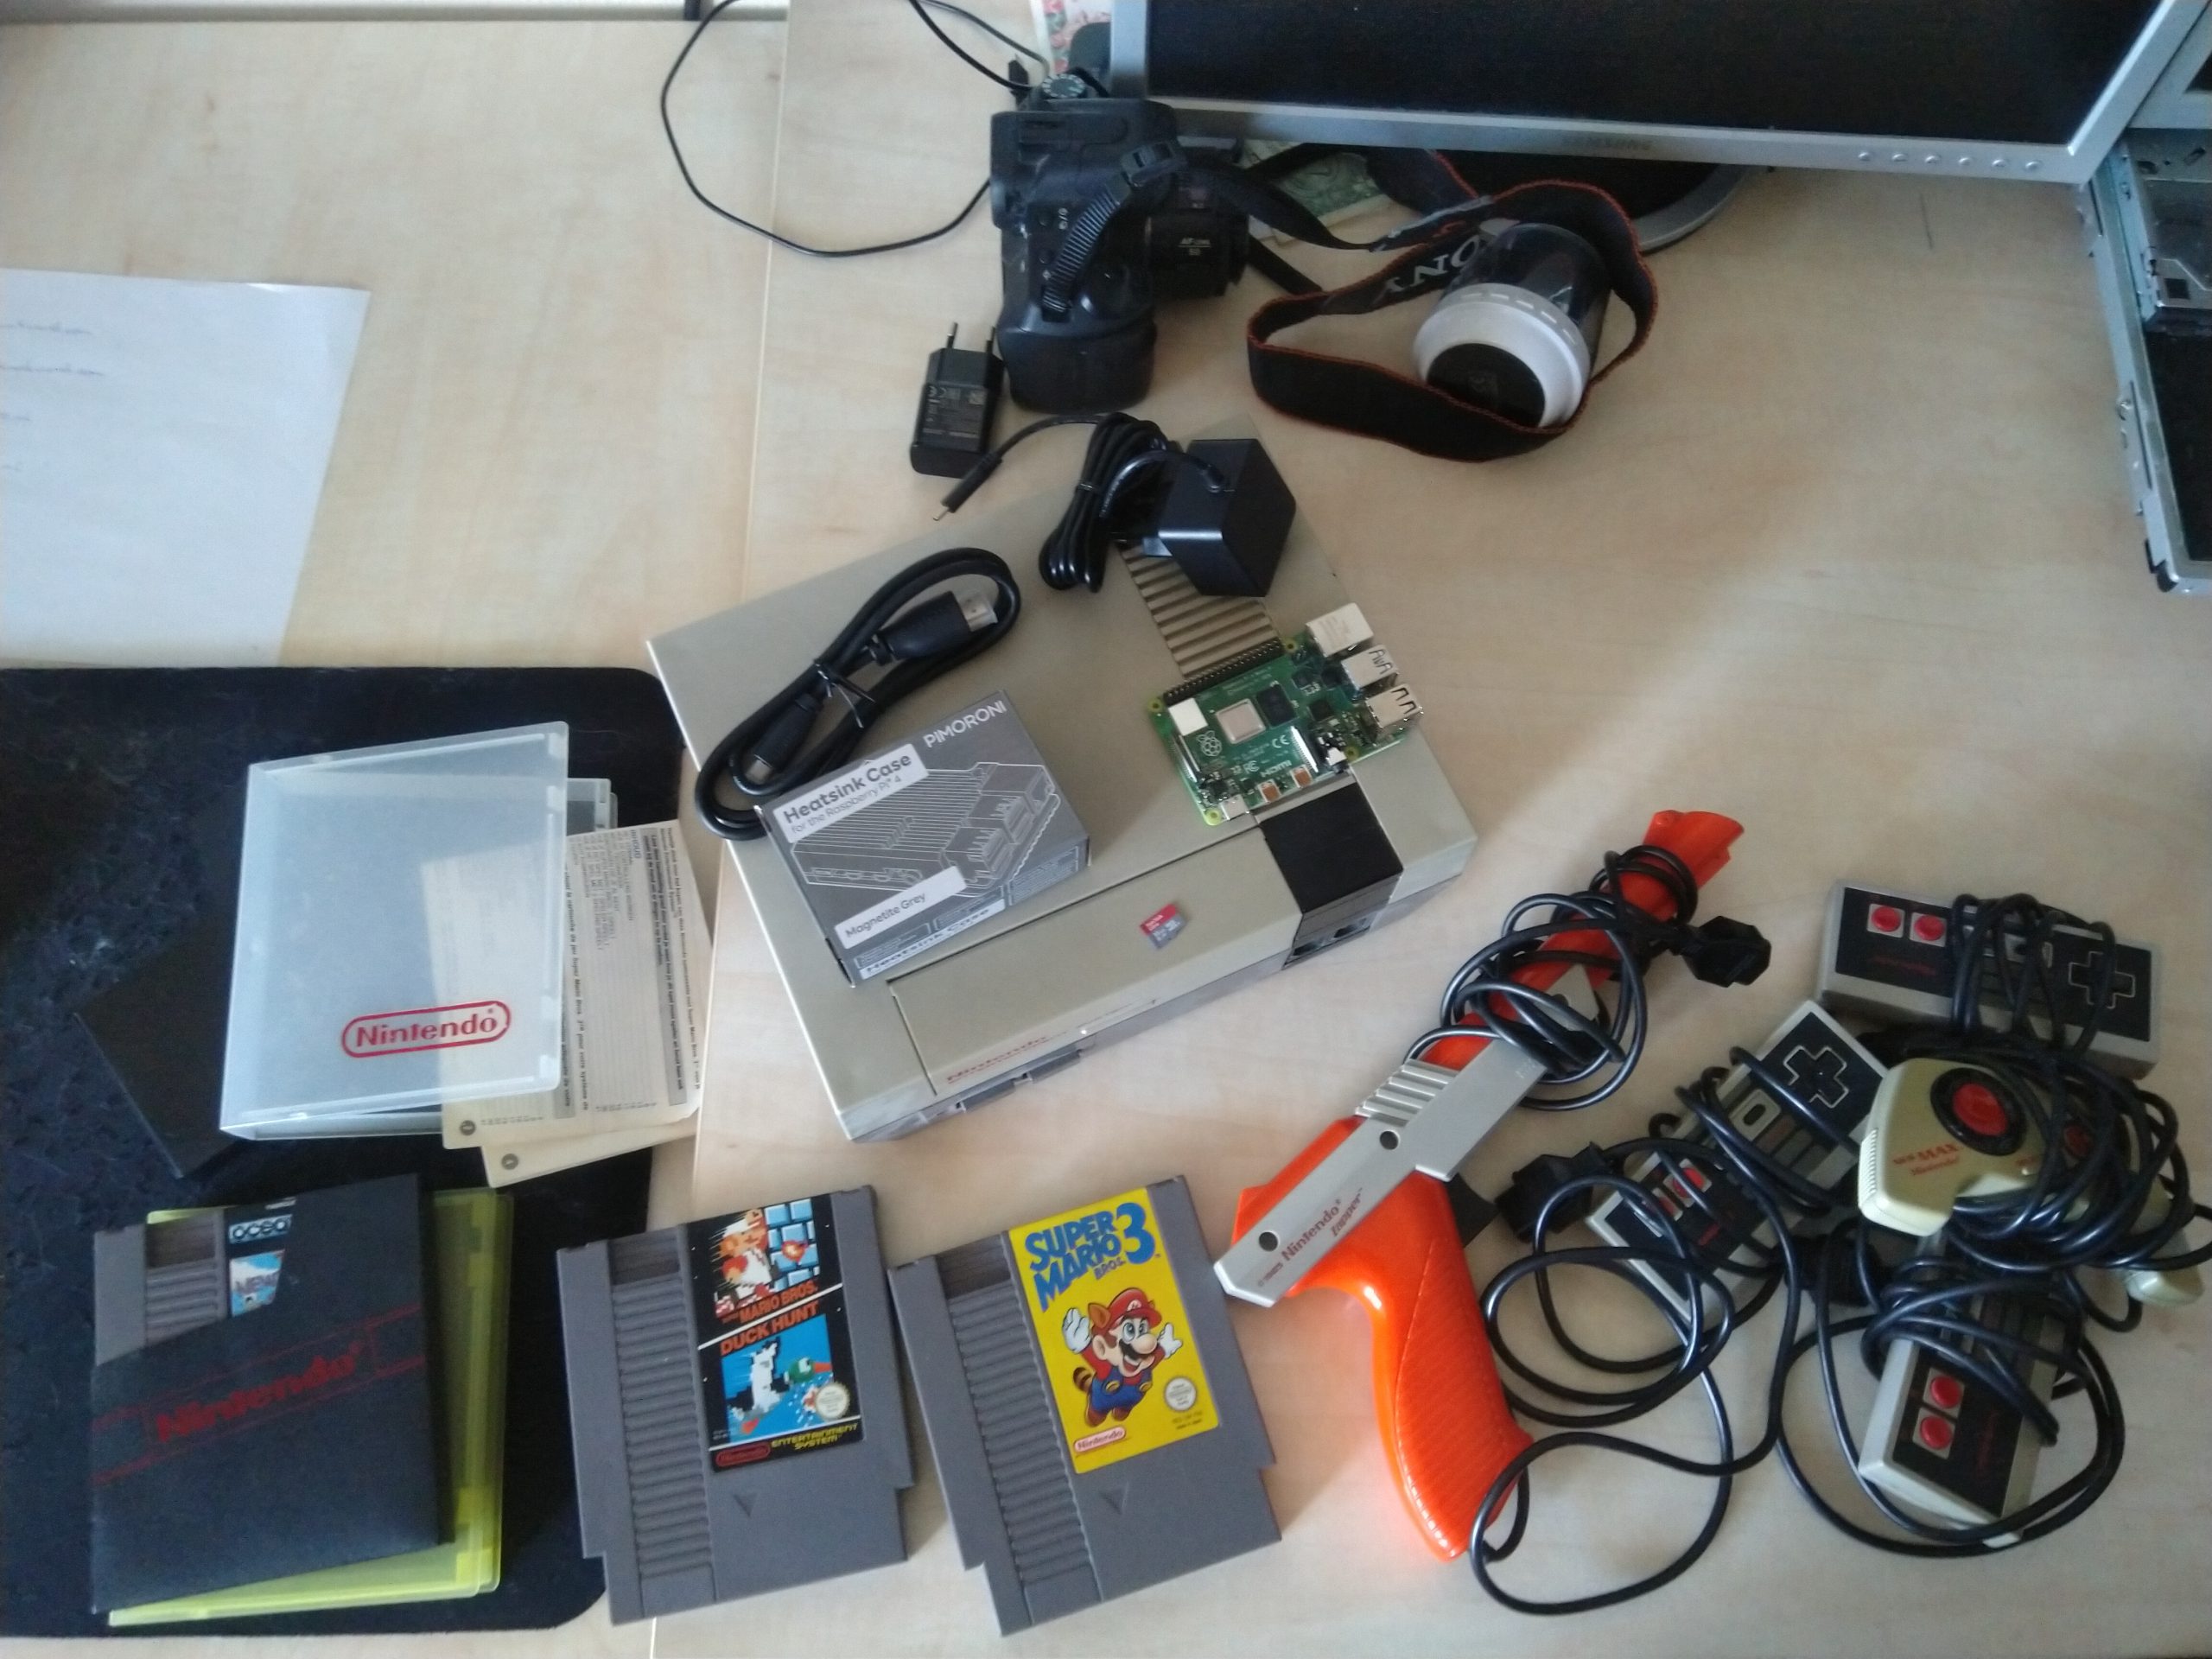
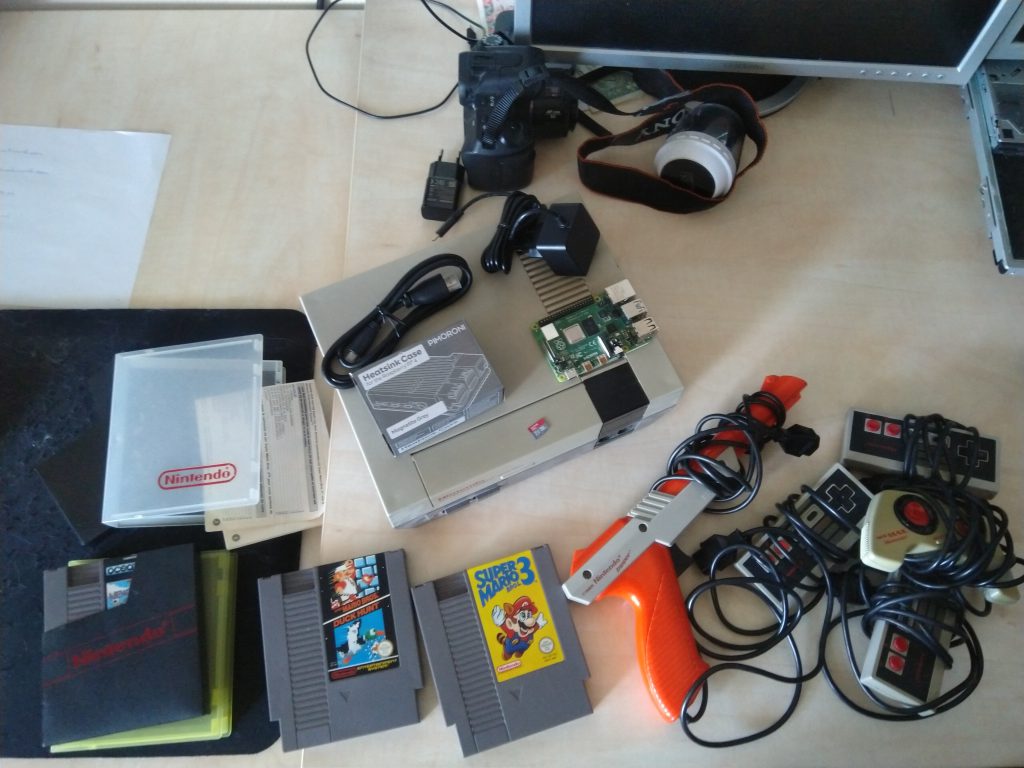
What is it?
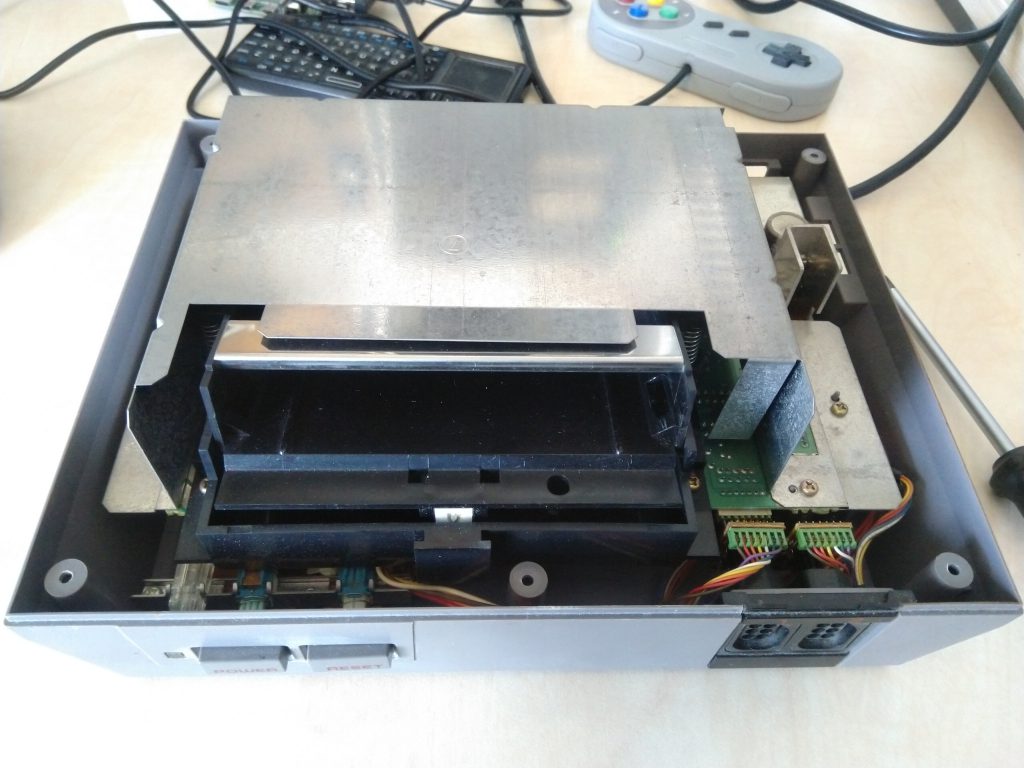
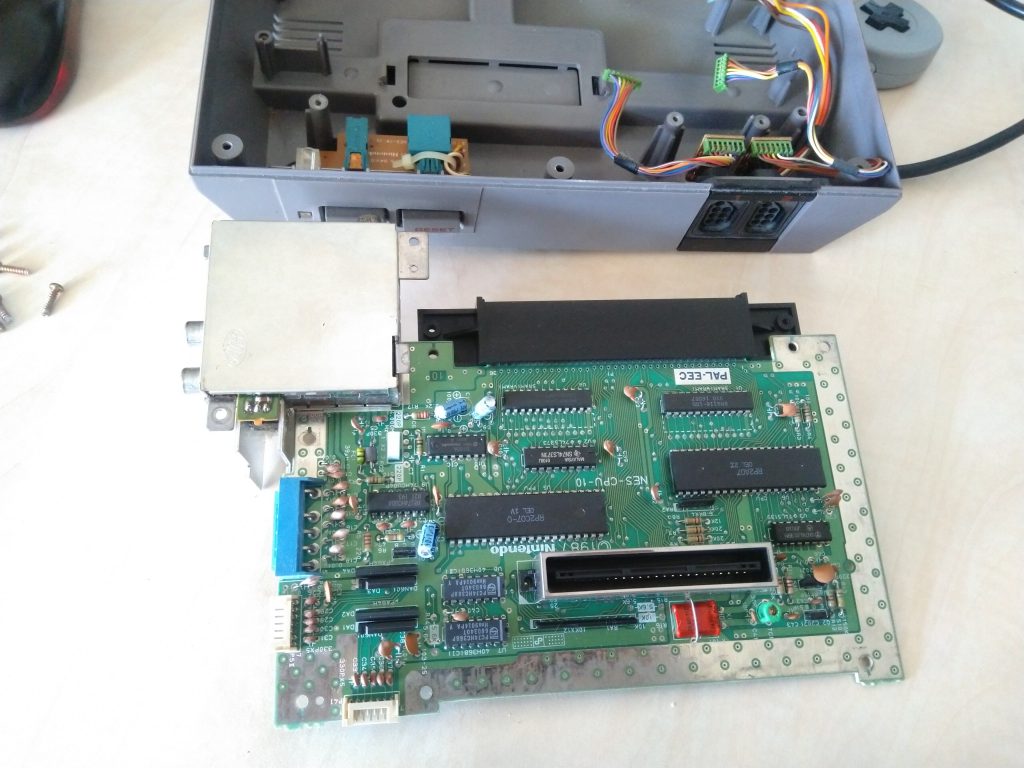
For many years I had a Nintendo Entertainment System (NES) laying around somewhere, I wanted to use the original hardware case to make a RetroPie.
So I did!


Project costs in € or $
| Object | Price |
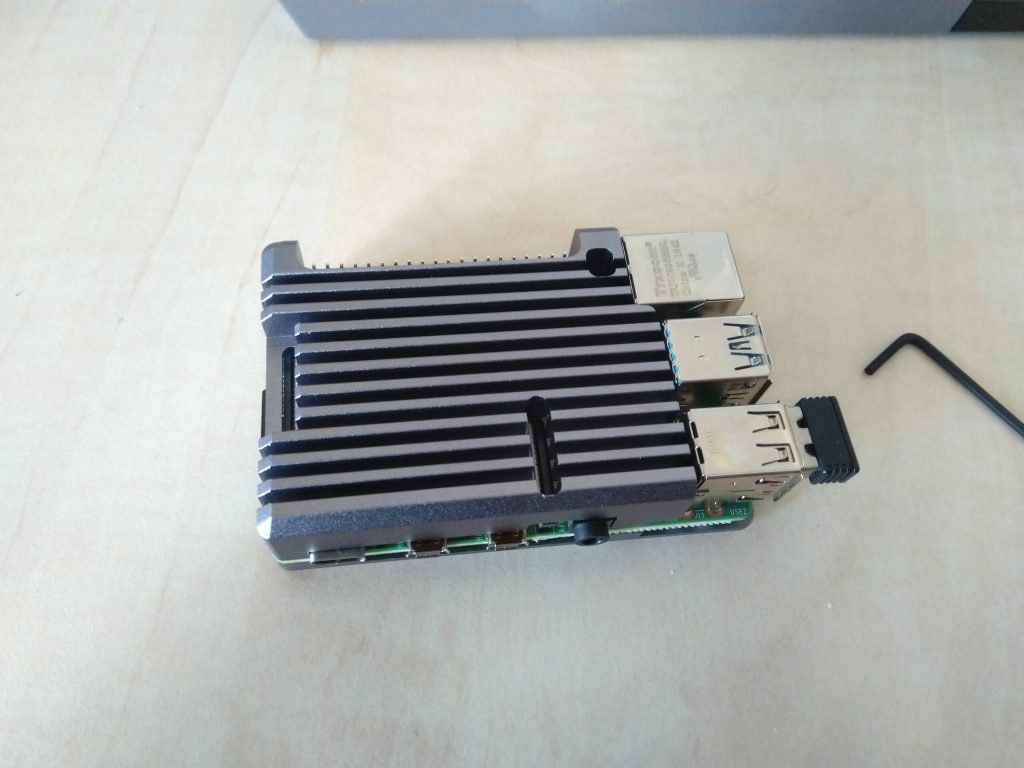
| Raspberry Pi 4 Model B v1.2 – 4GB | € 62 |
| Micro-HDMI to HDMI cable- 1m | € 8 |
| Raspberry Pi 4 USB-C power supply | € 10 |
| Heatsink Case for Raspberry Pi 4 | € 15 |
| 16GB SD card | € 8 |
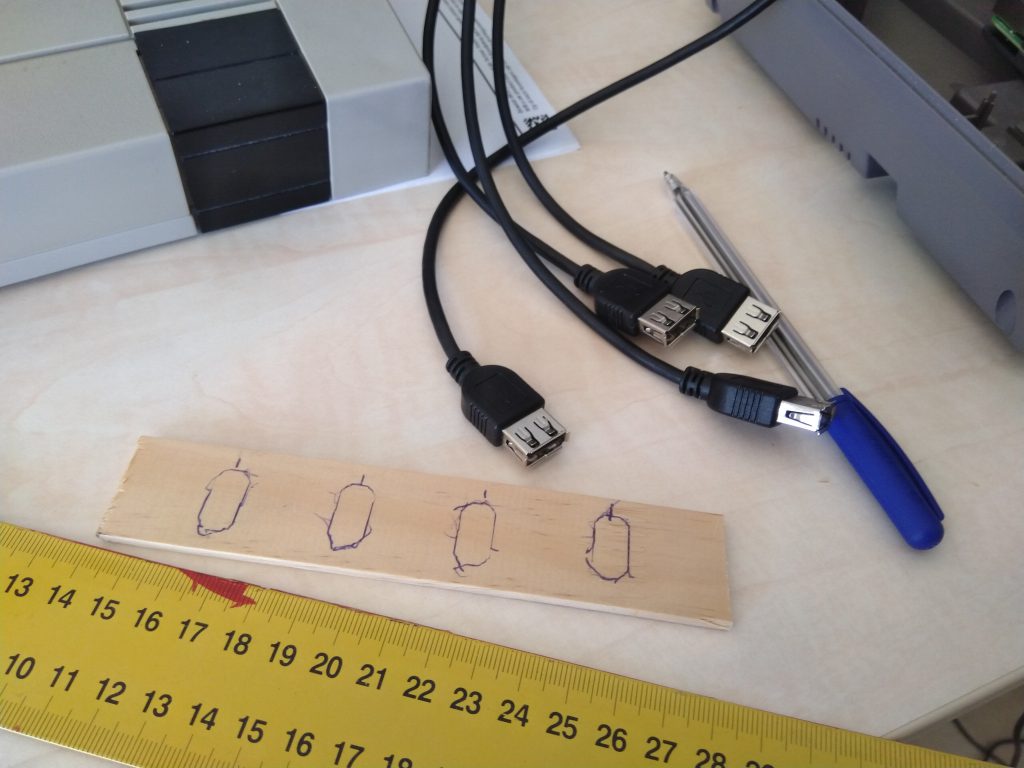
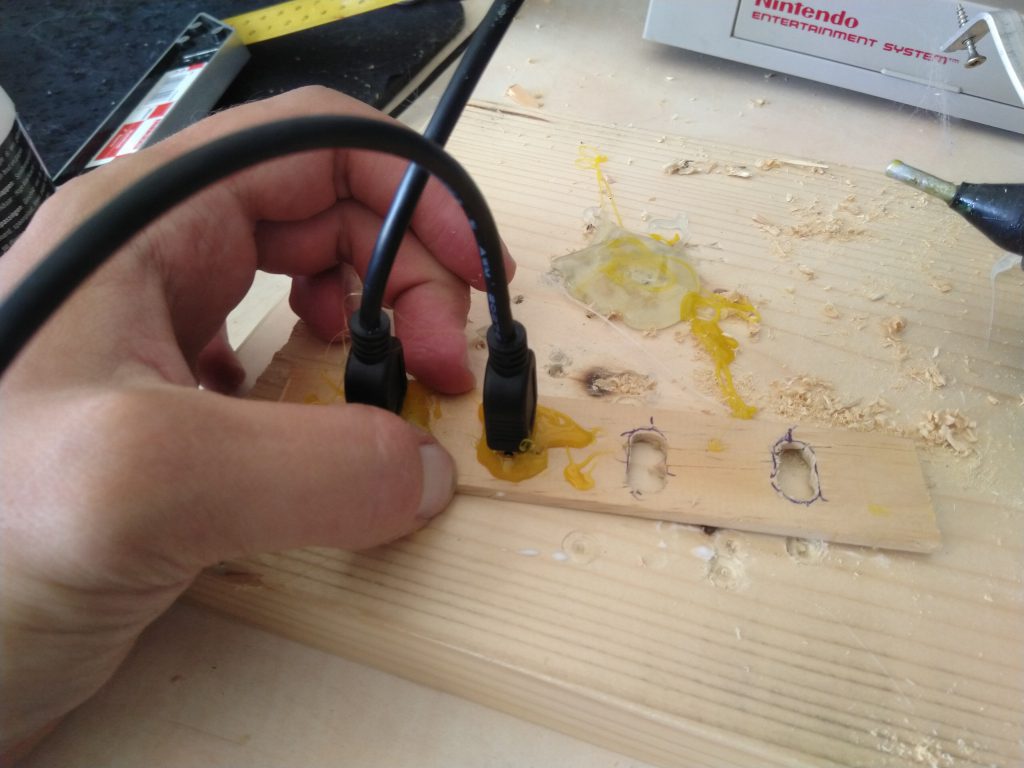
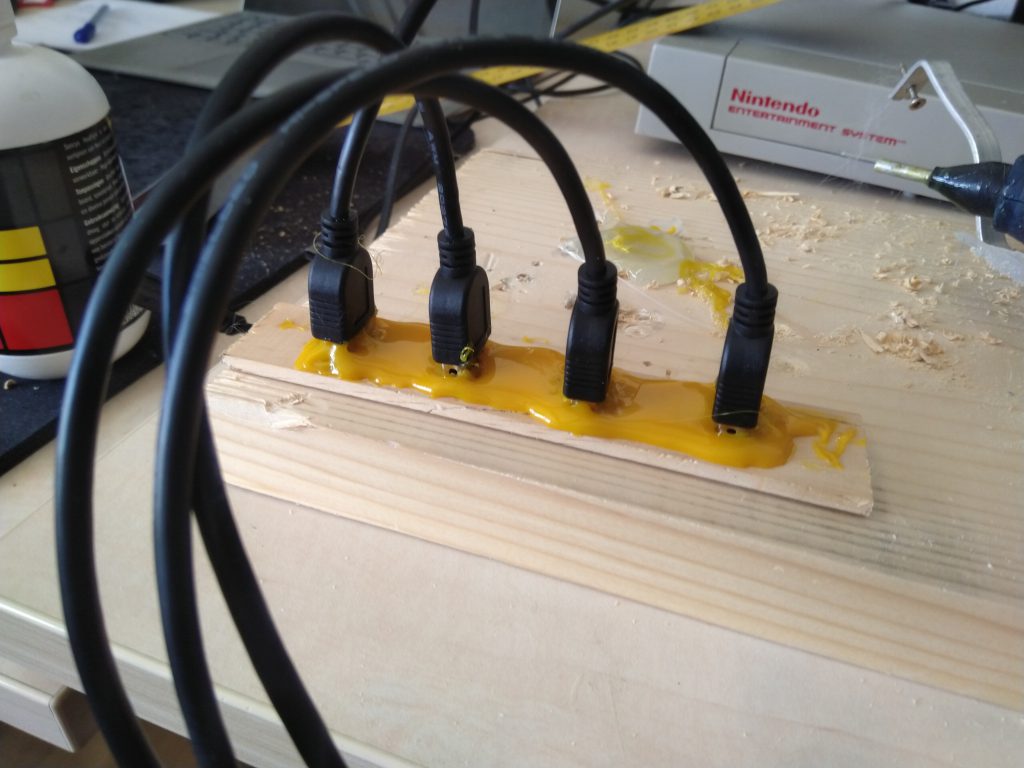
| 4 x USB 0.5 meter extension cable | € 7 |
| 2 x USB NES controller | € 18 |
| 4 x USB SNES controller | € 20 |
| Total | € 148 |
What could be better?
- Use the NES hardware on/off button to connect the power supply
- Get adapters to connect the original controllers