What is it? 
My radiators are all equipped with a measuring device, making it possible to measure the used heat by a single radiator and once per year device the costs between different apartment owners.
This device measures the temperature of the radiator, and compares it (with some kind of formula) with the room temperature. Every x amount of time over x amount of heat is represented by this device in a so called ‘tick’. This tick is displayed on the device itself.
It is thus interesting to grab the most heat, expressed in GigaJoule (GJ), from the radiator and get it into the room, and not have the heat leave via the returning tubes (as I will pay for the use of it as the measuring device has no information if it returns with the same amount of degrees Celsius or less).
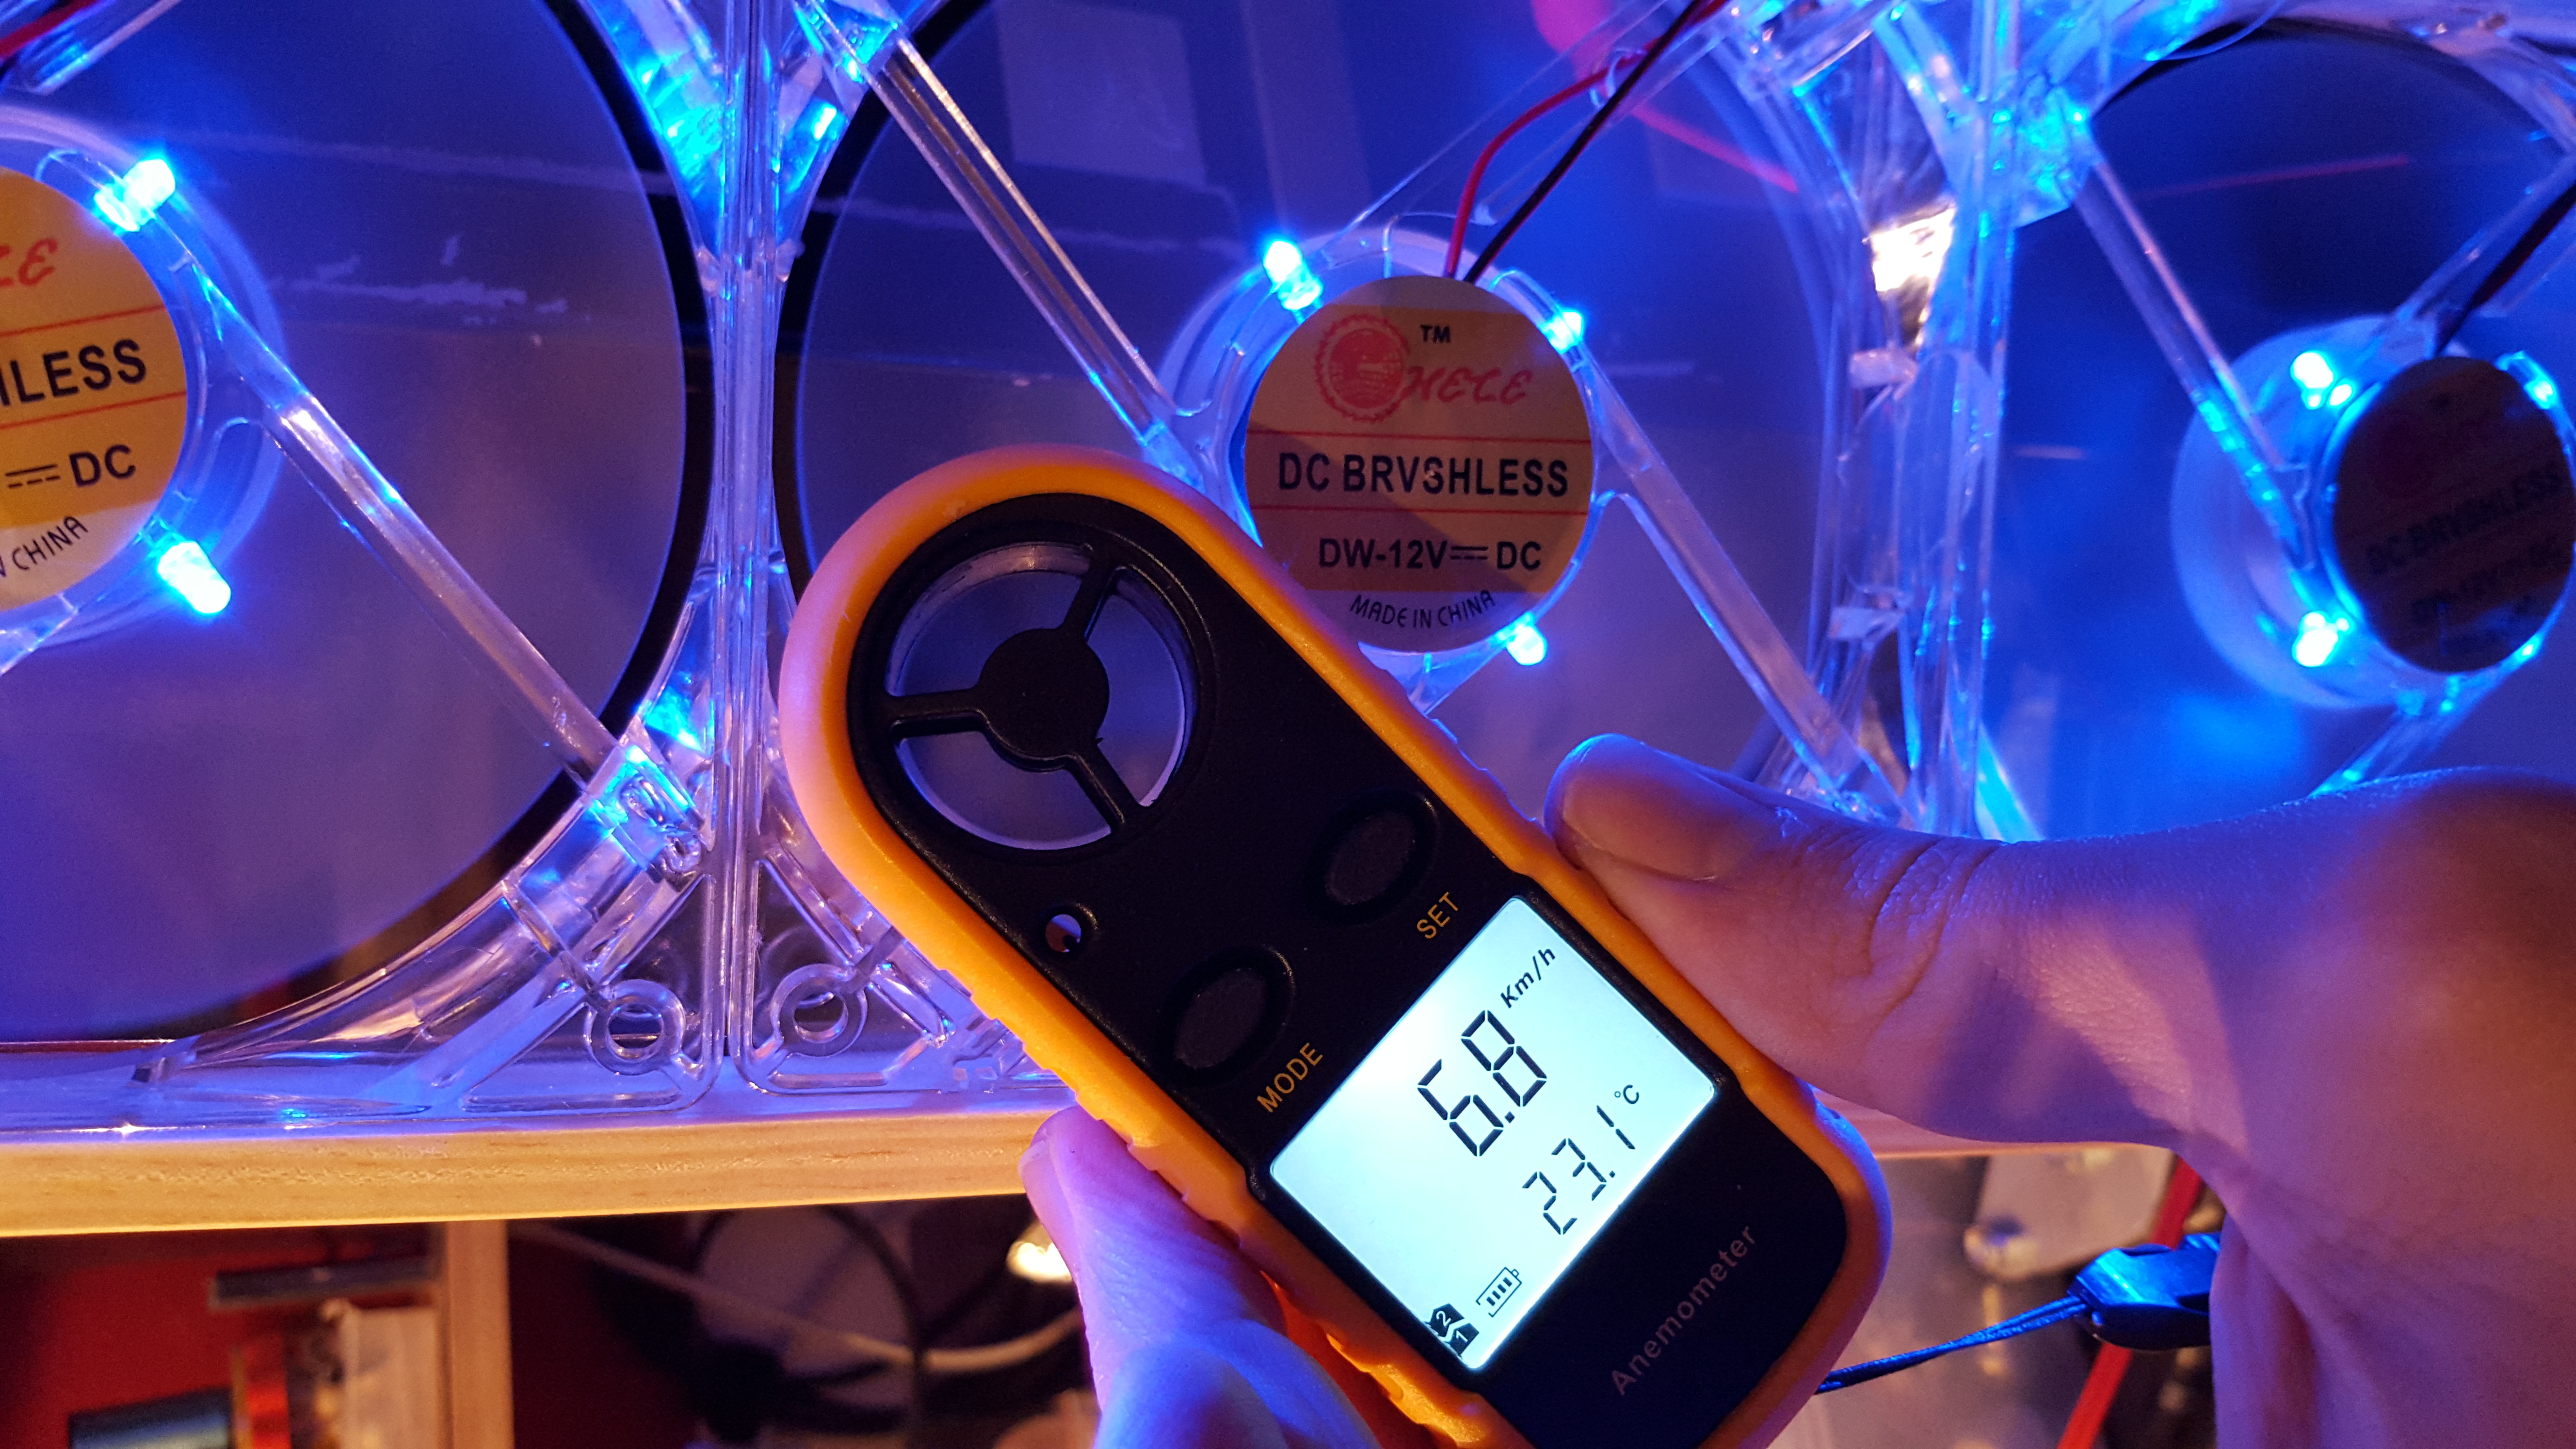
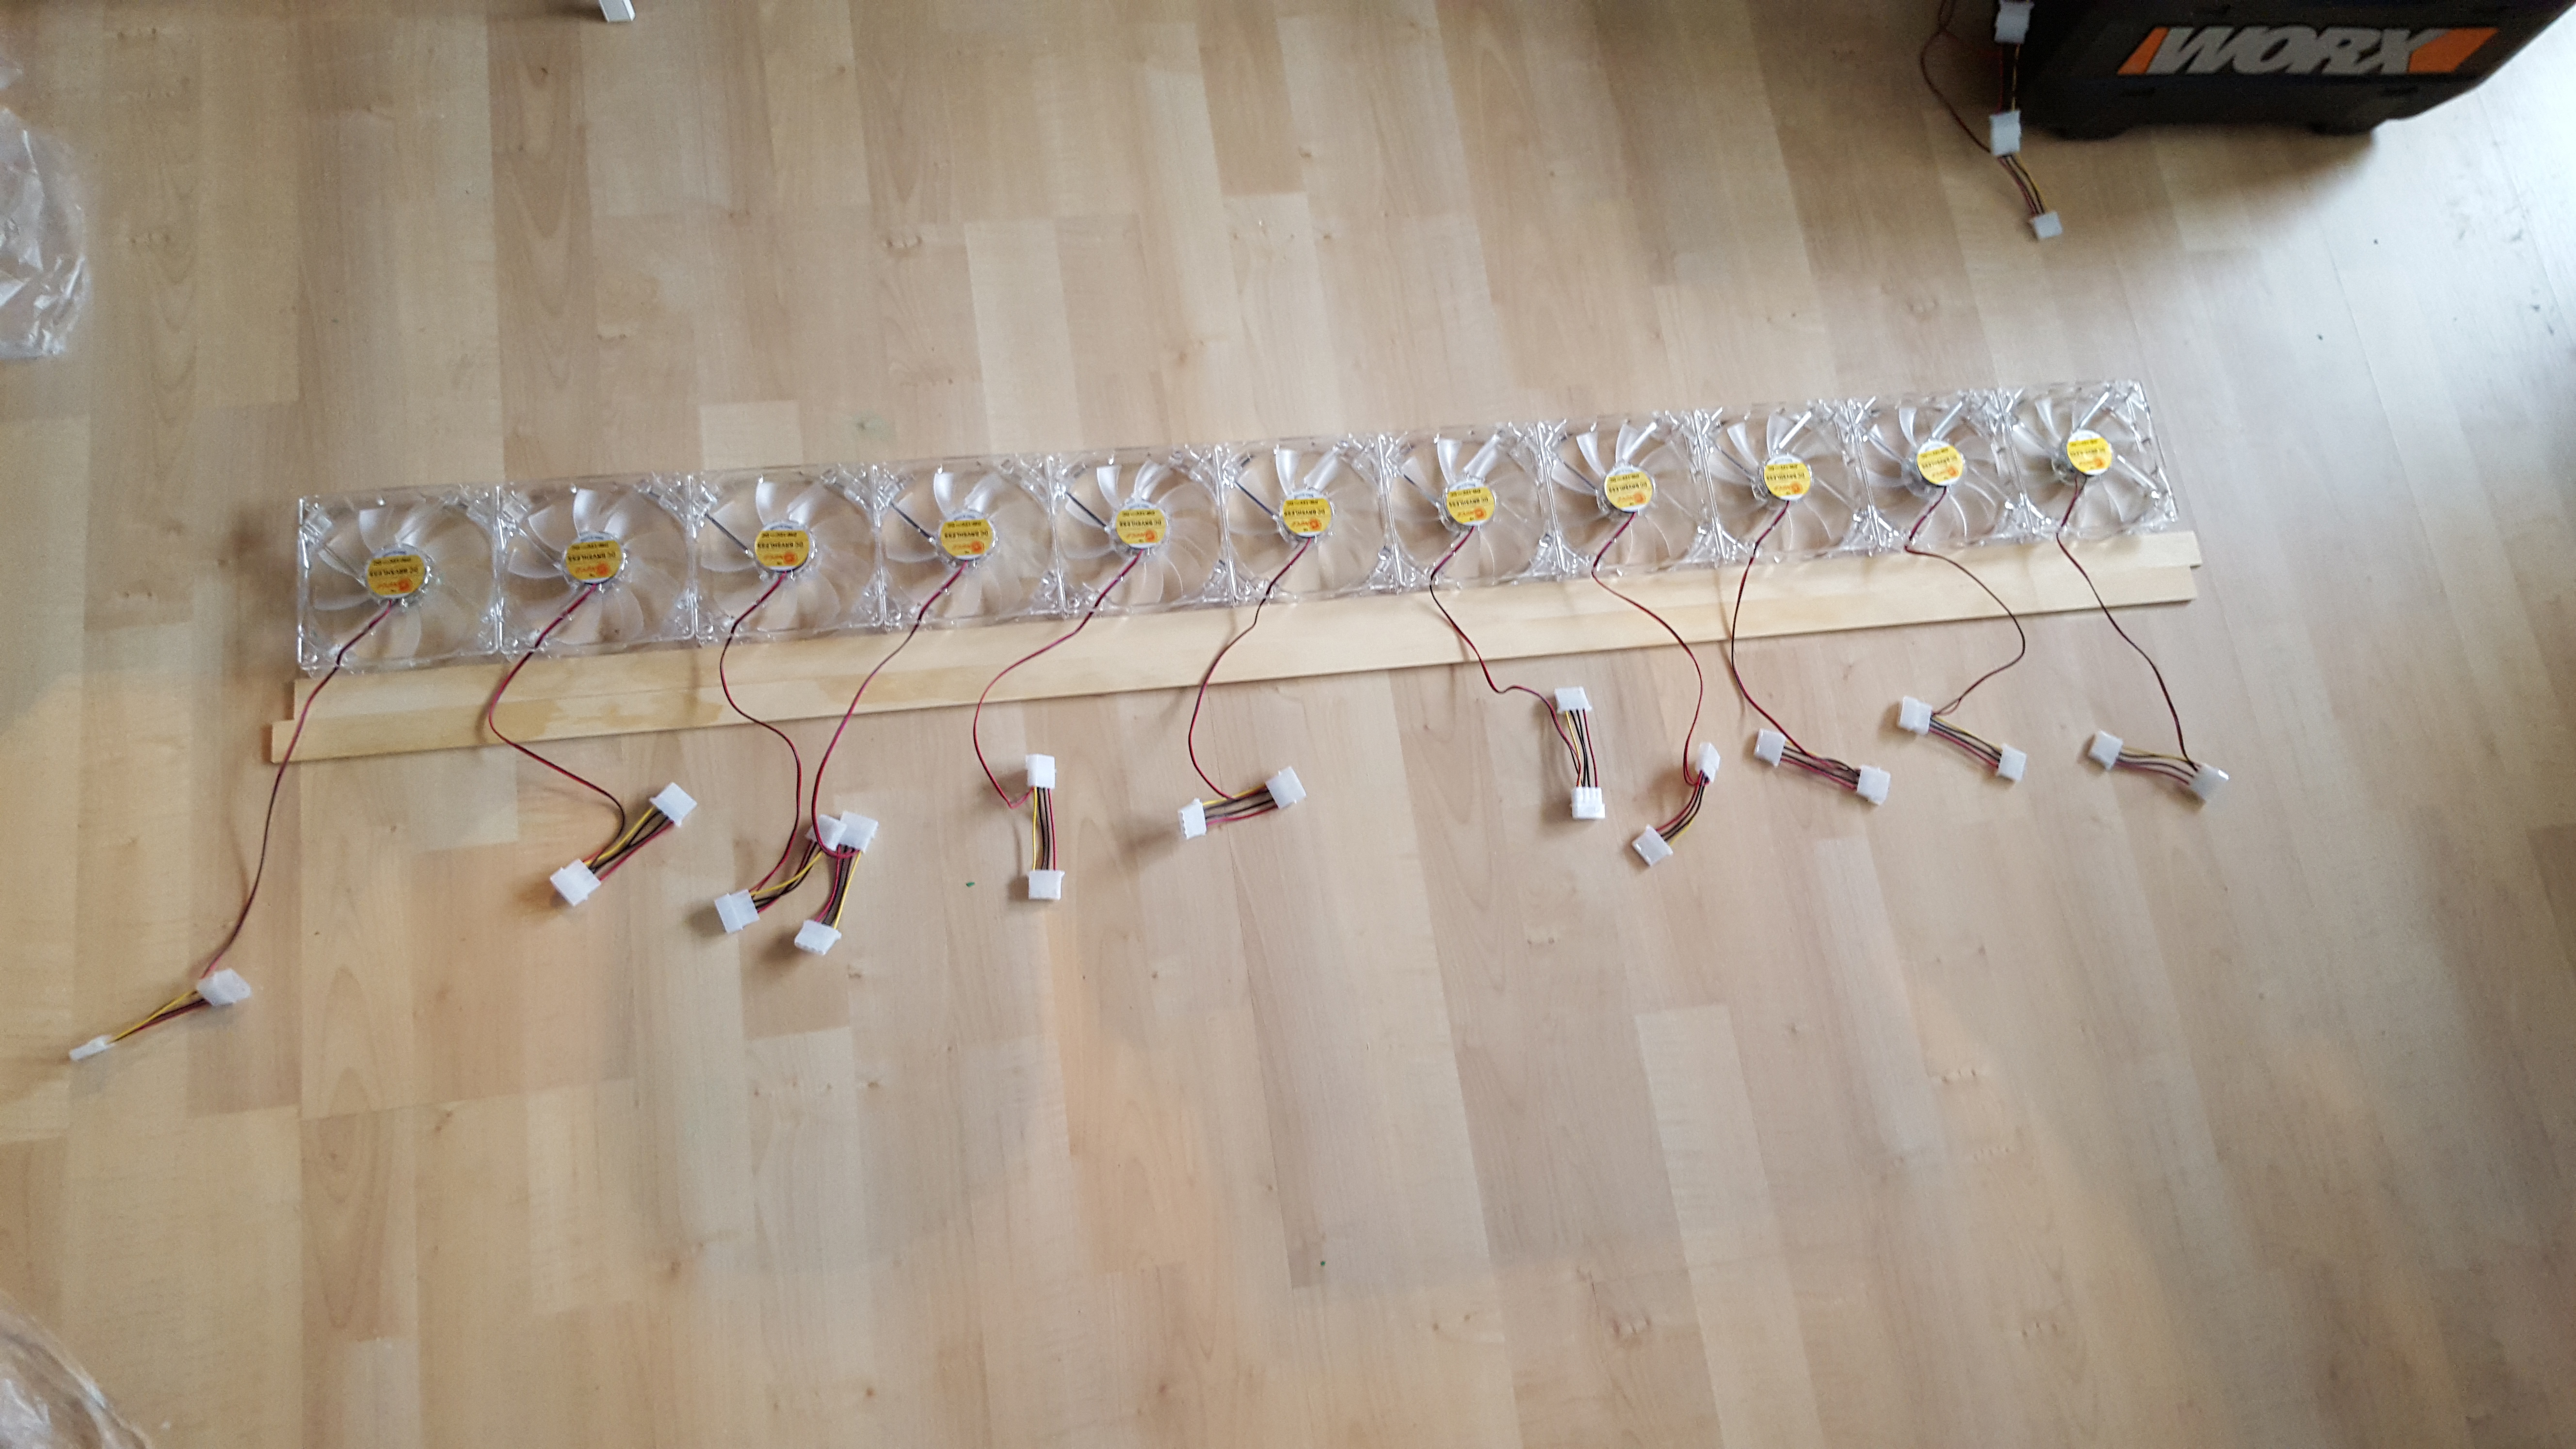
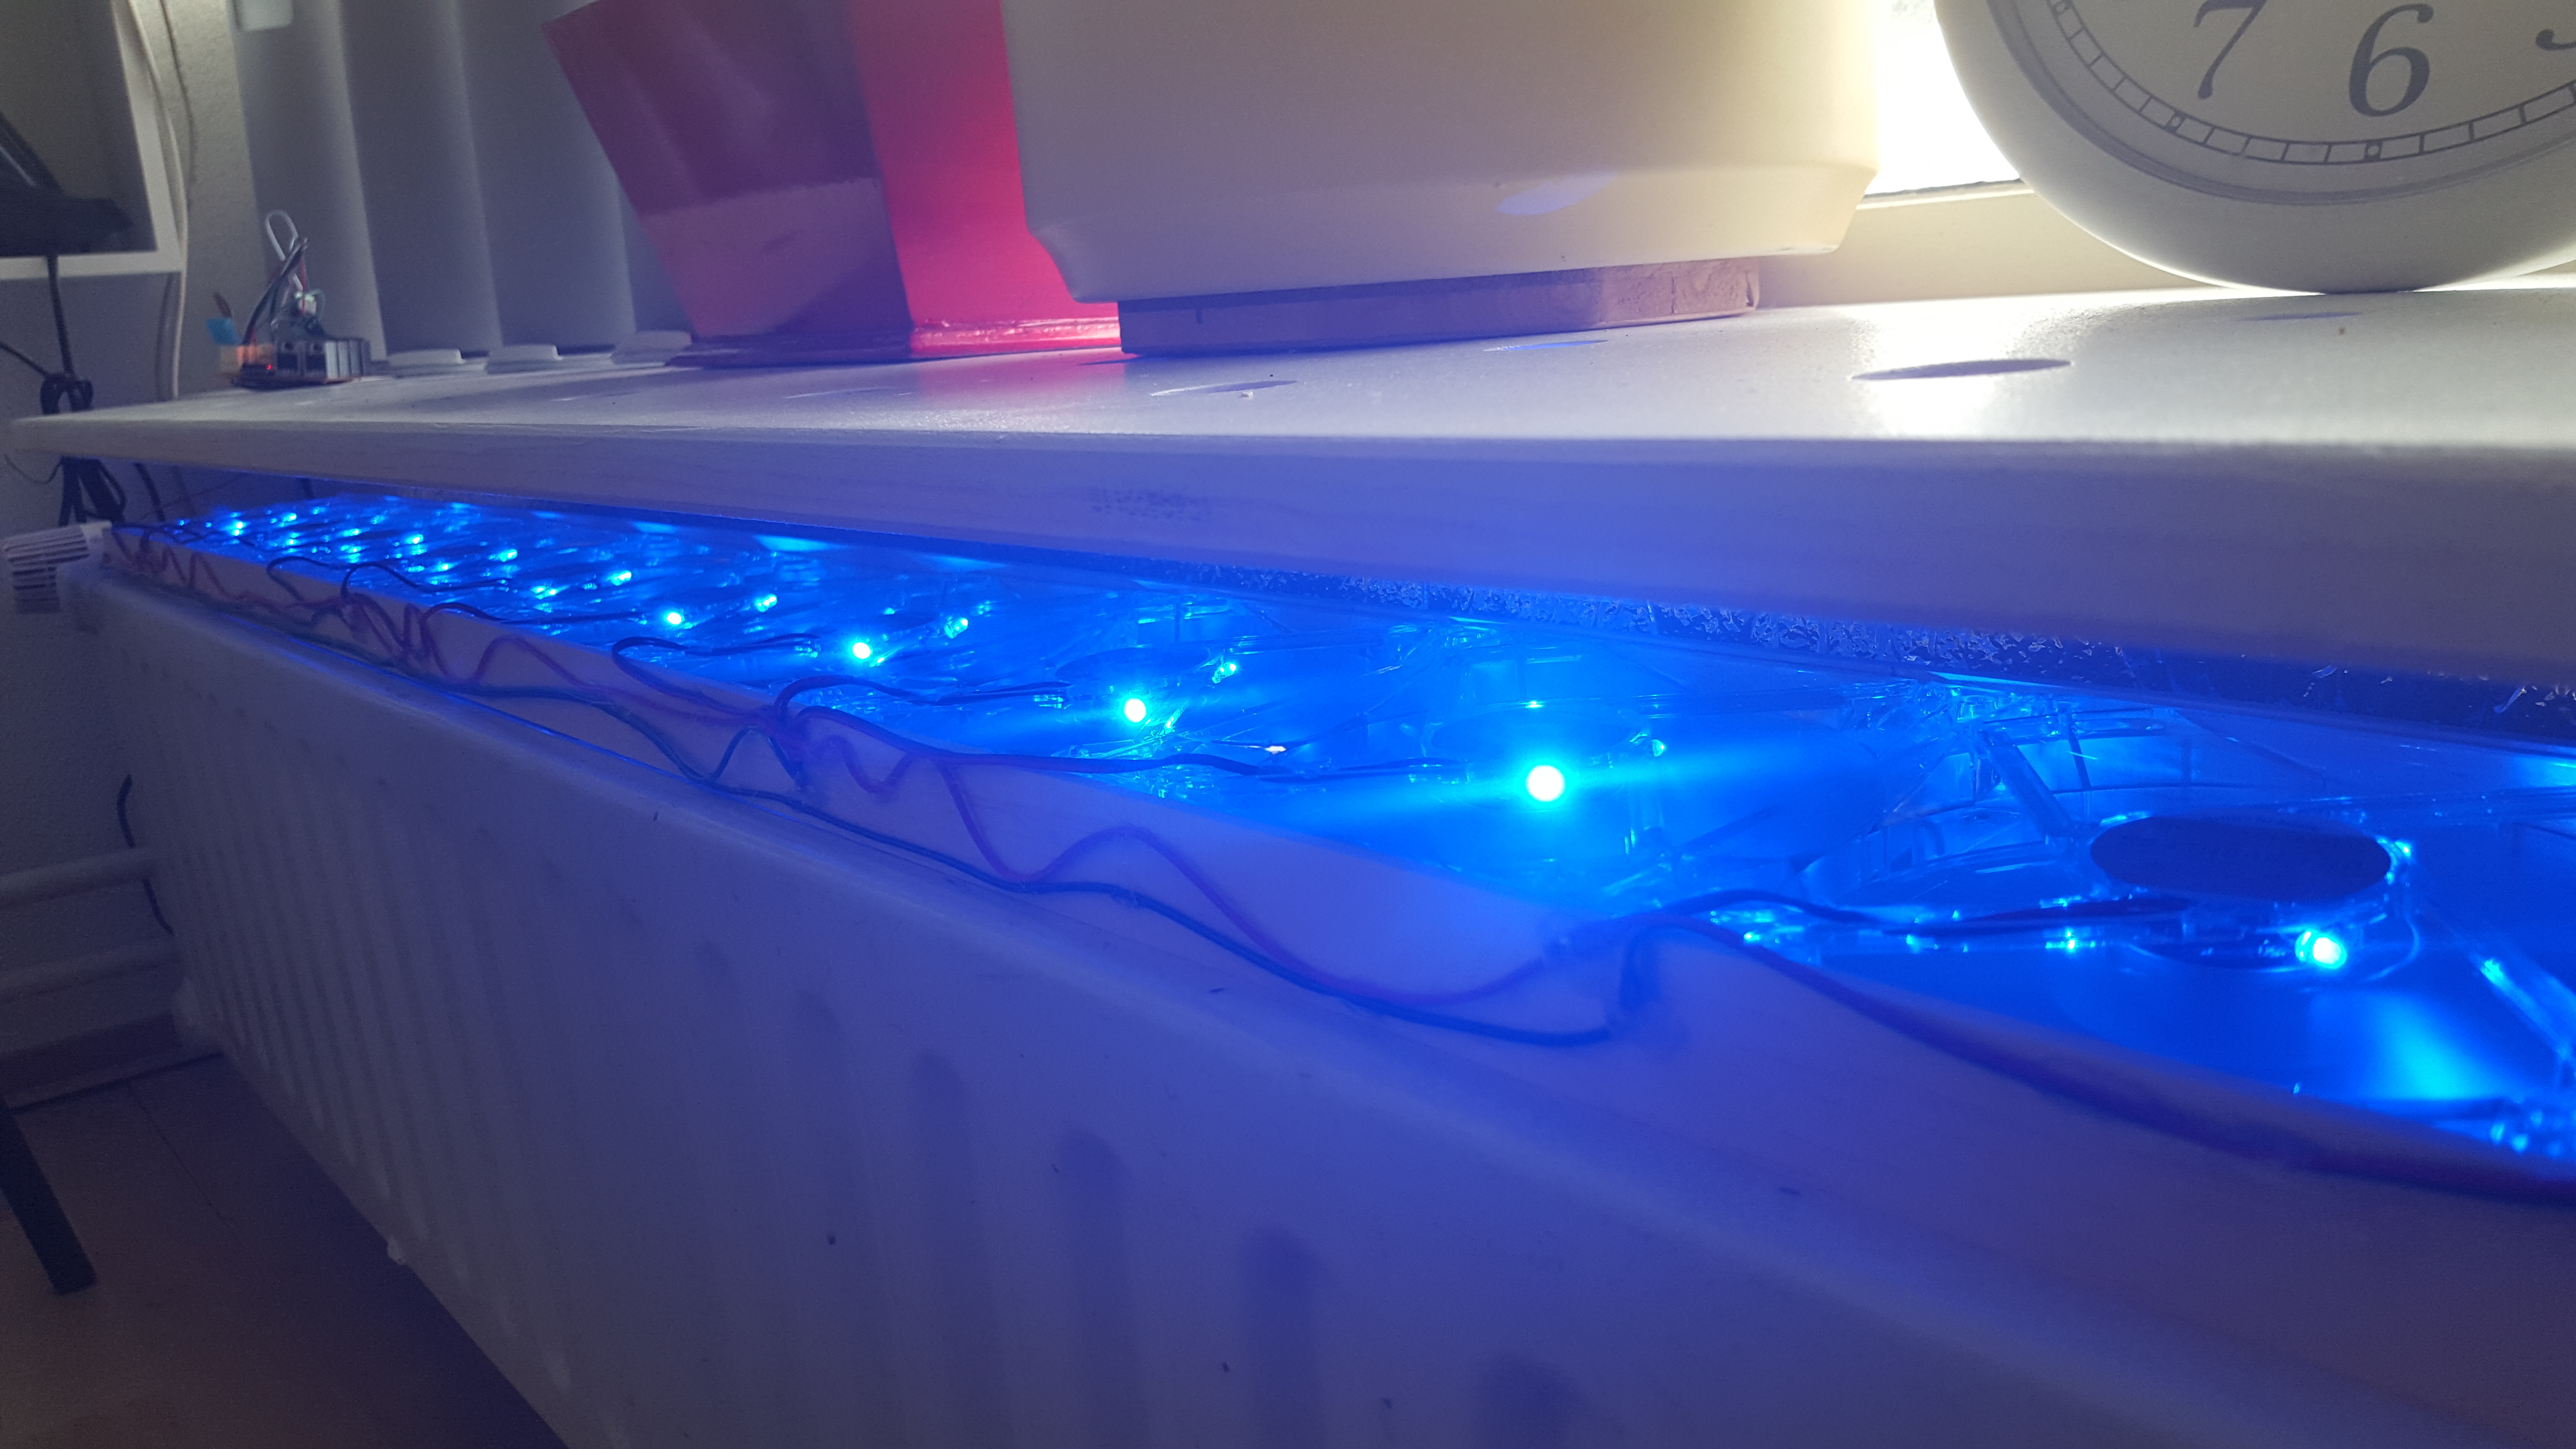
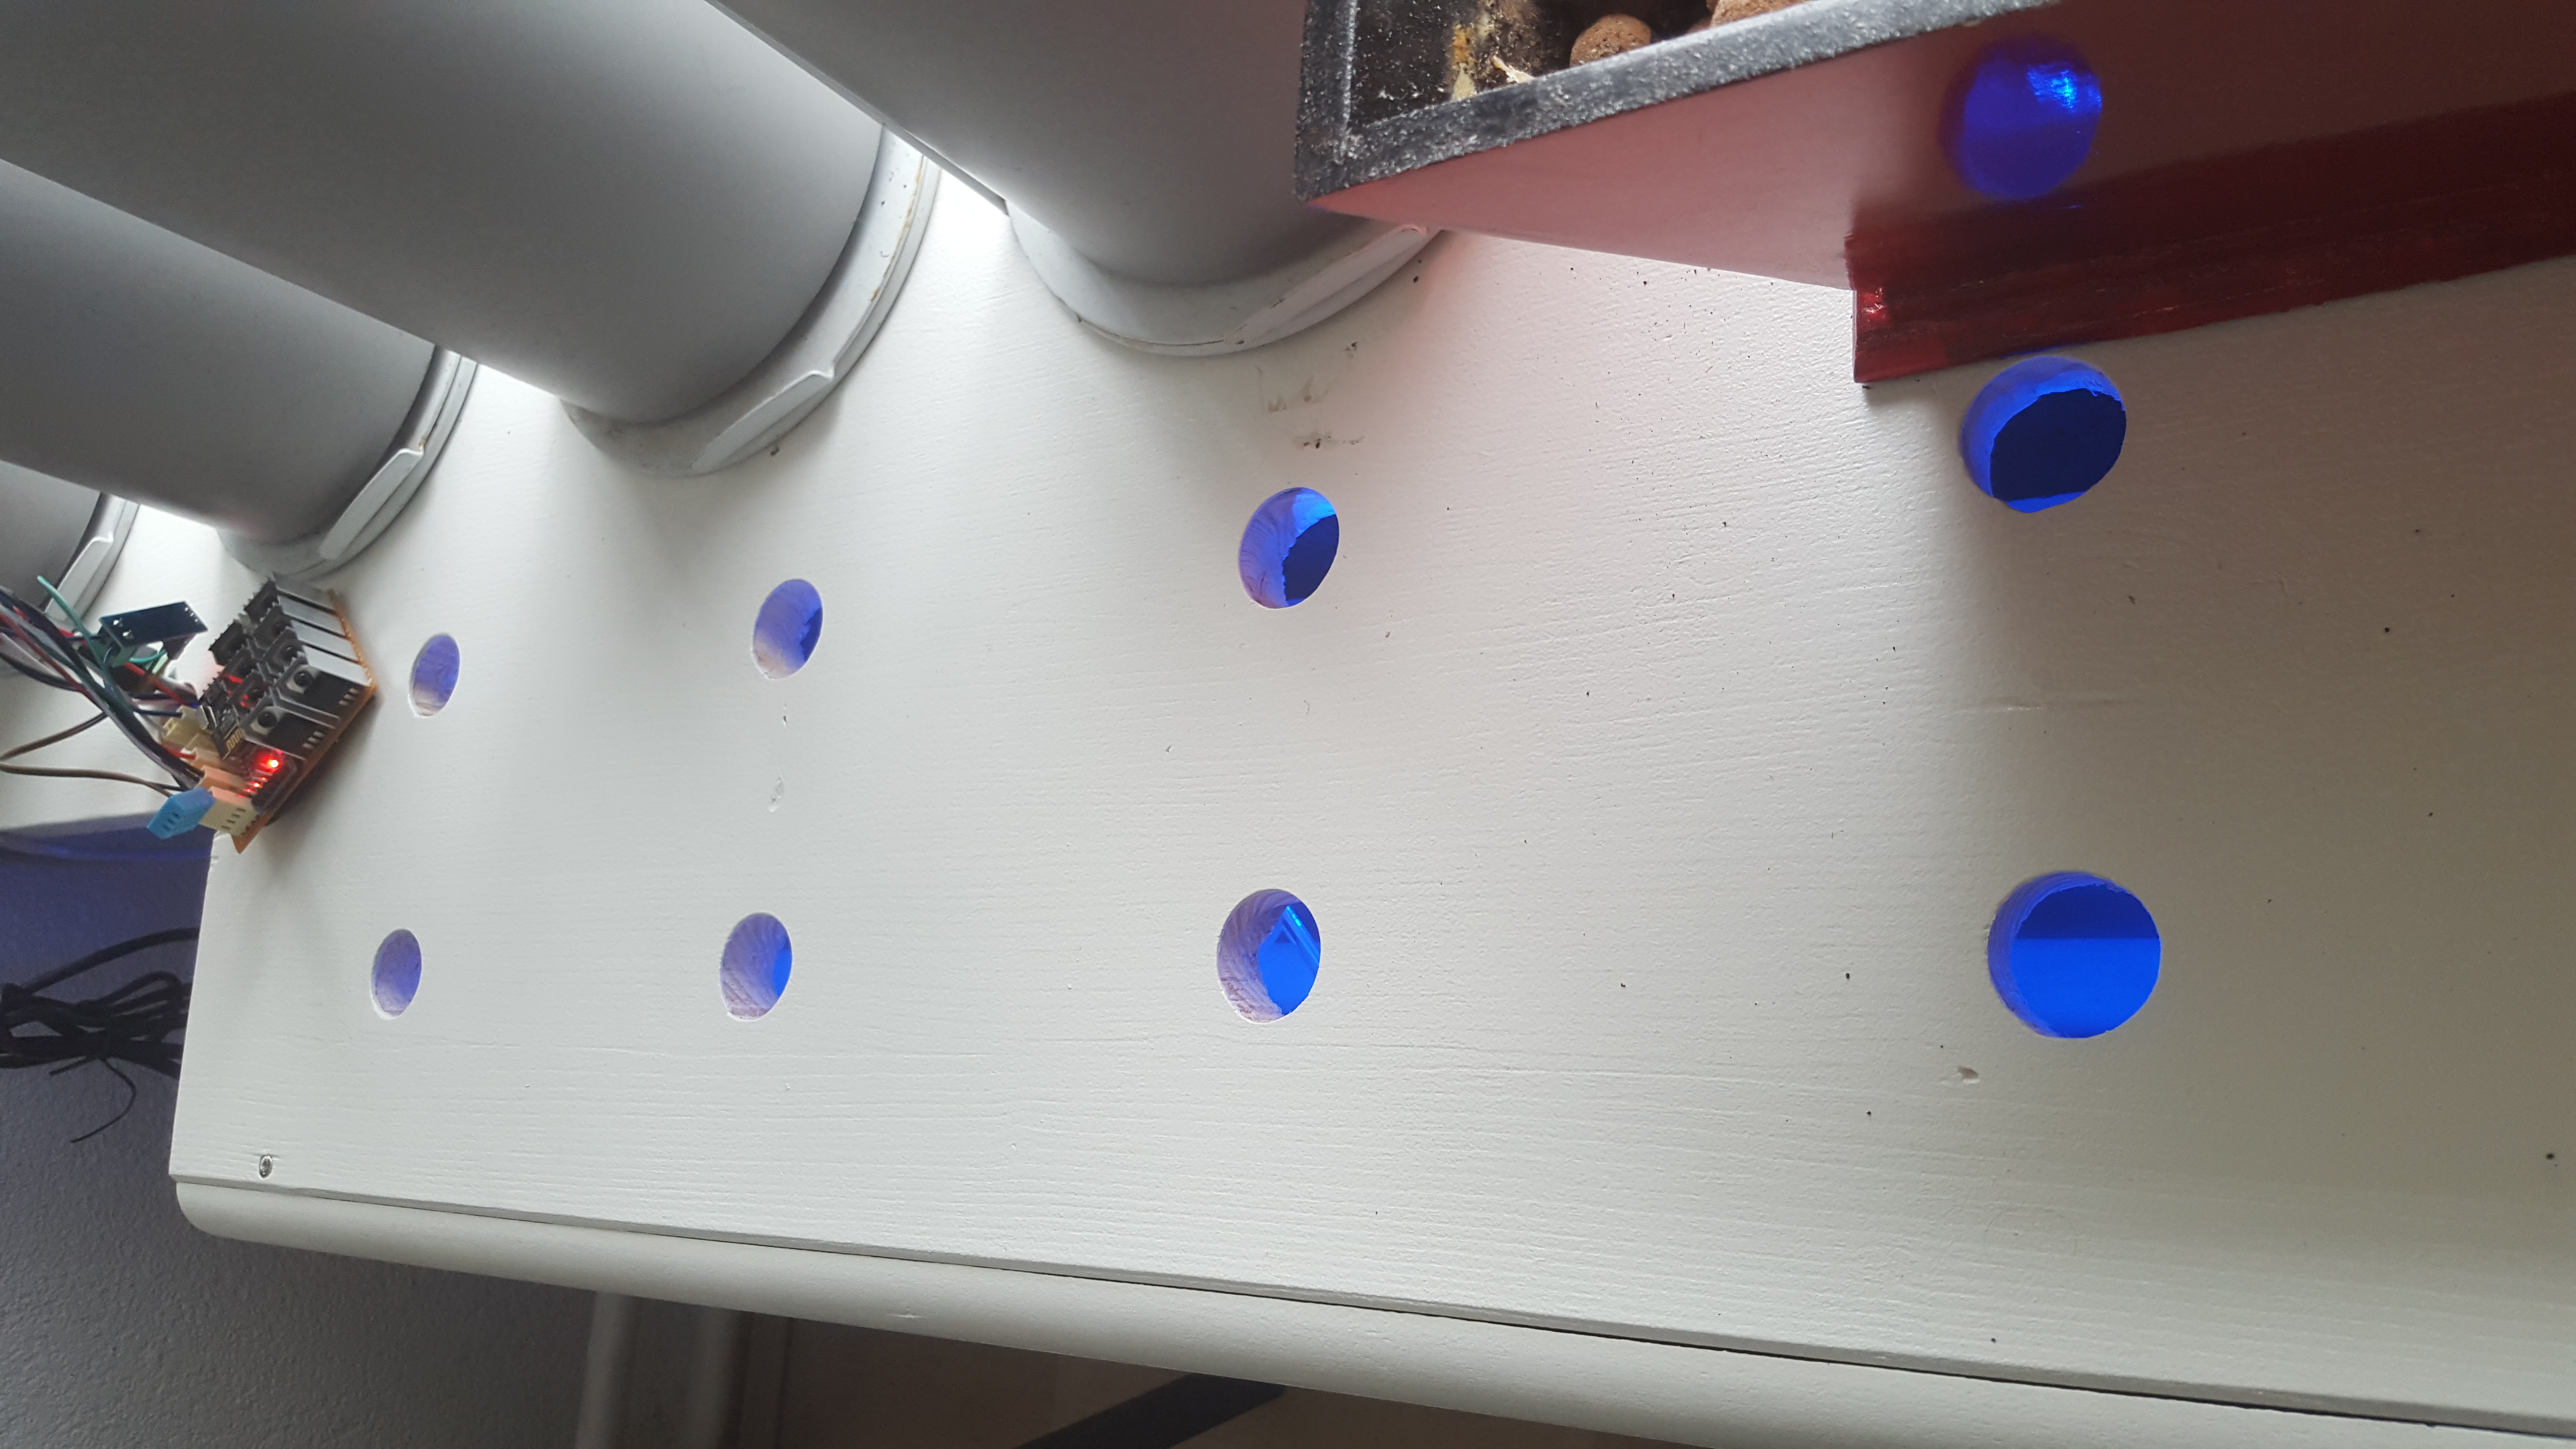
My solution is simple, use a lot (21 pieces) of 120mm computer fans to get the heat from the radiator into the room.
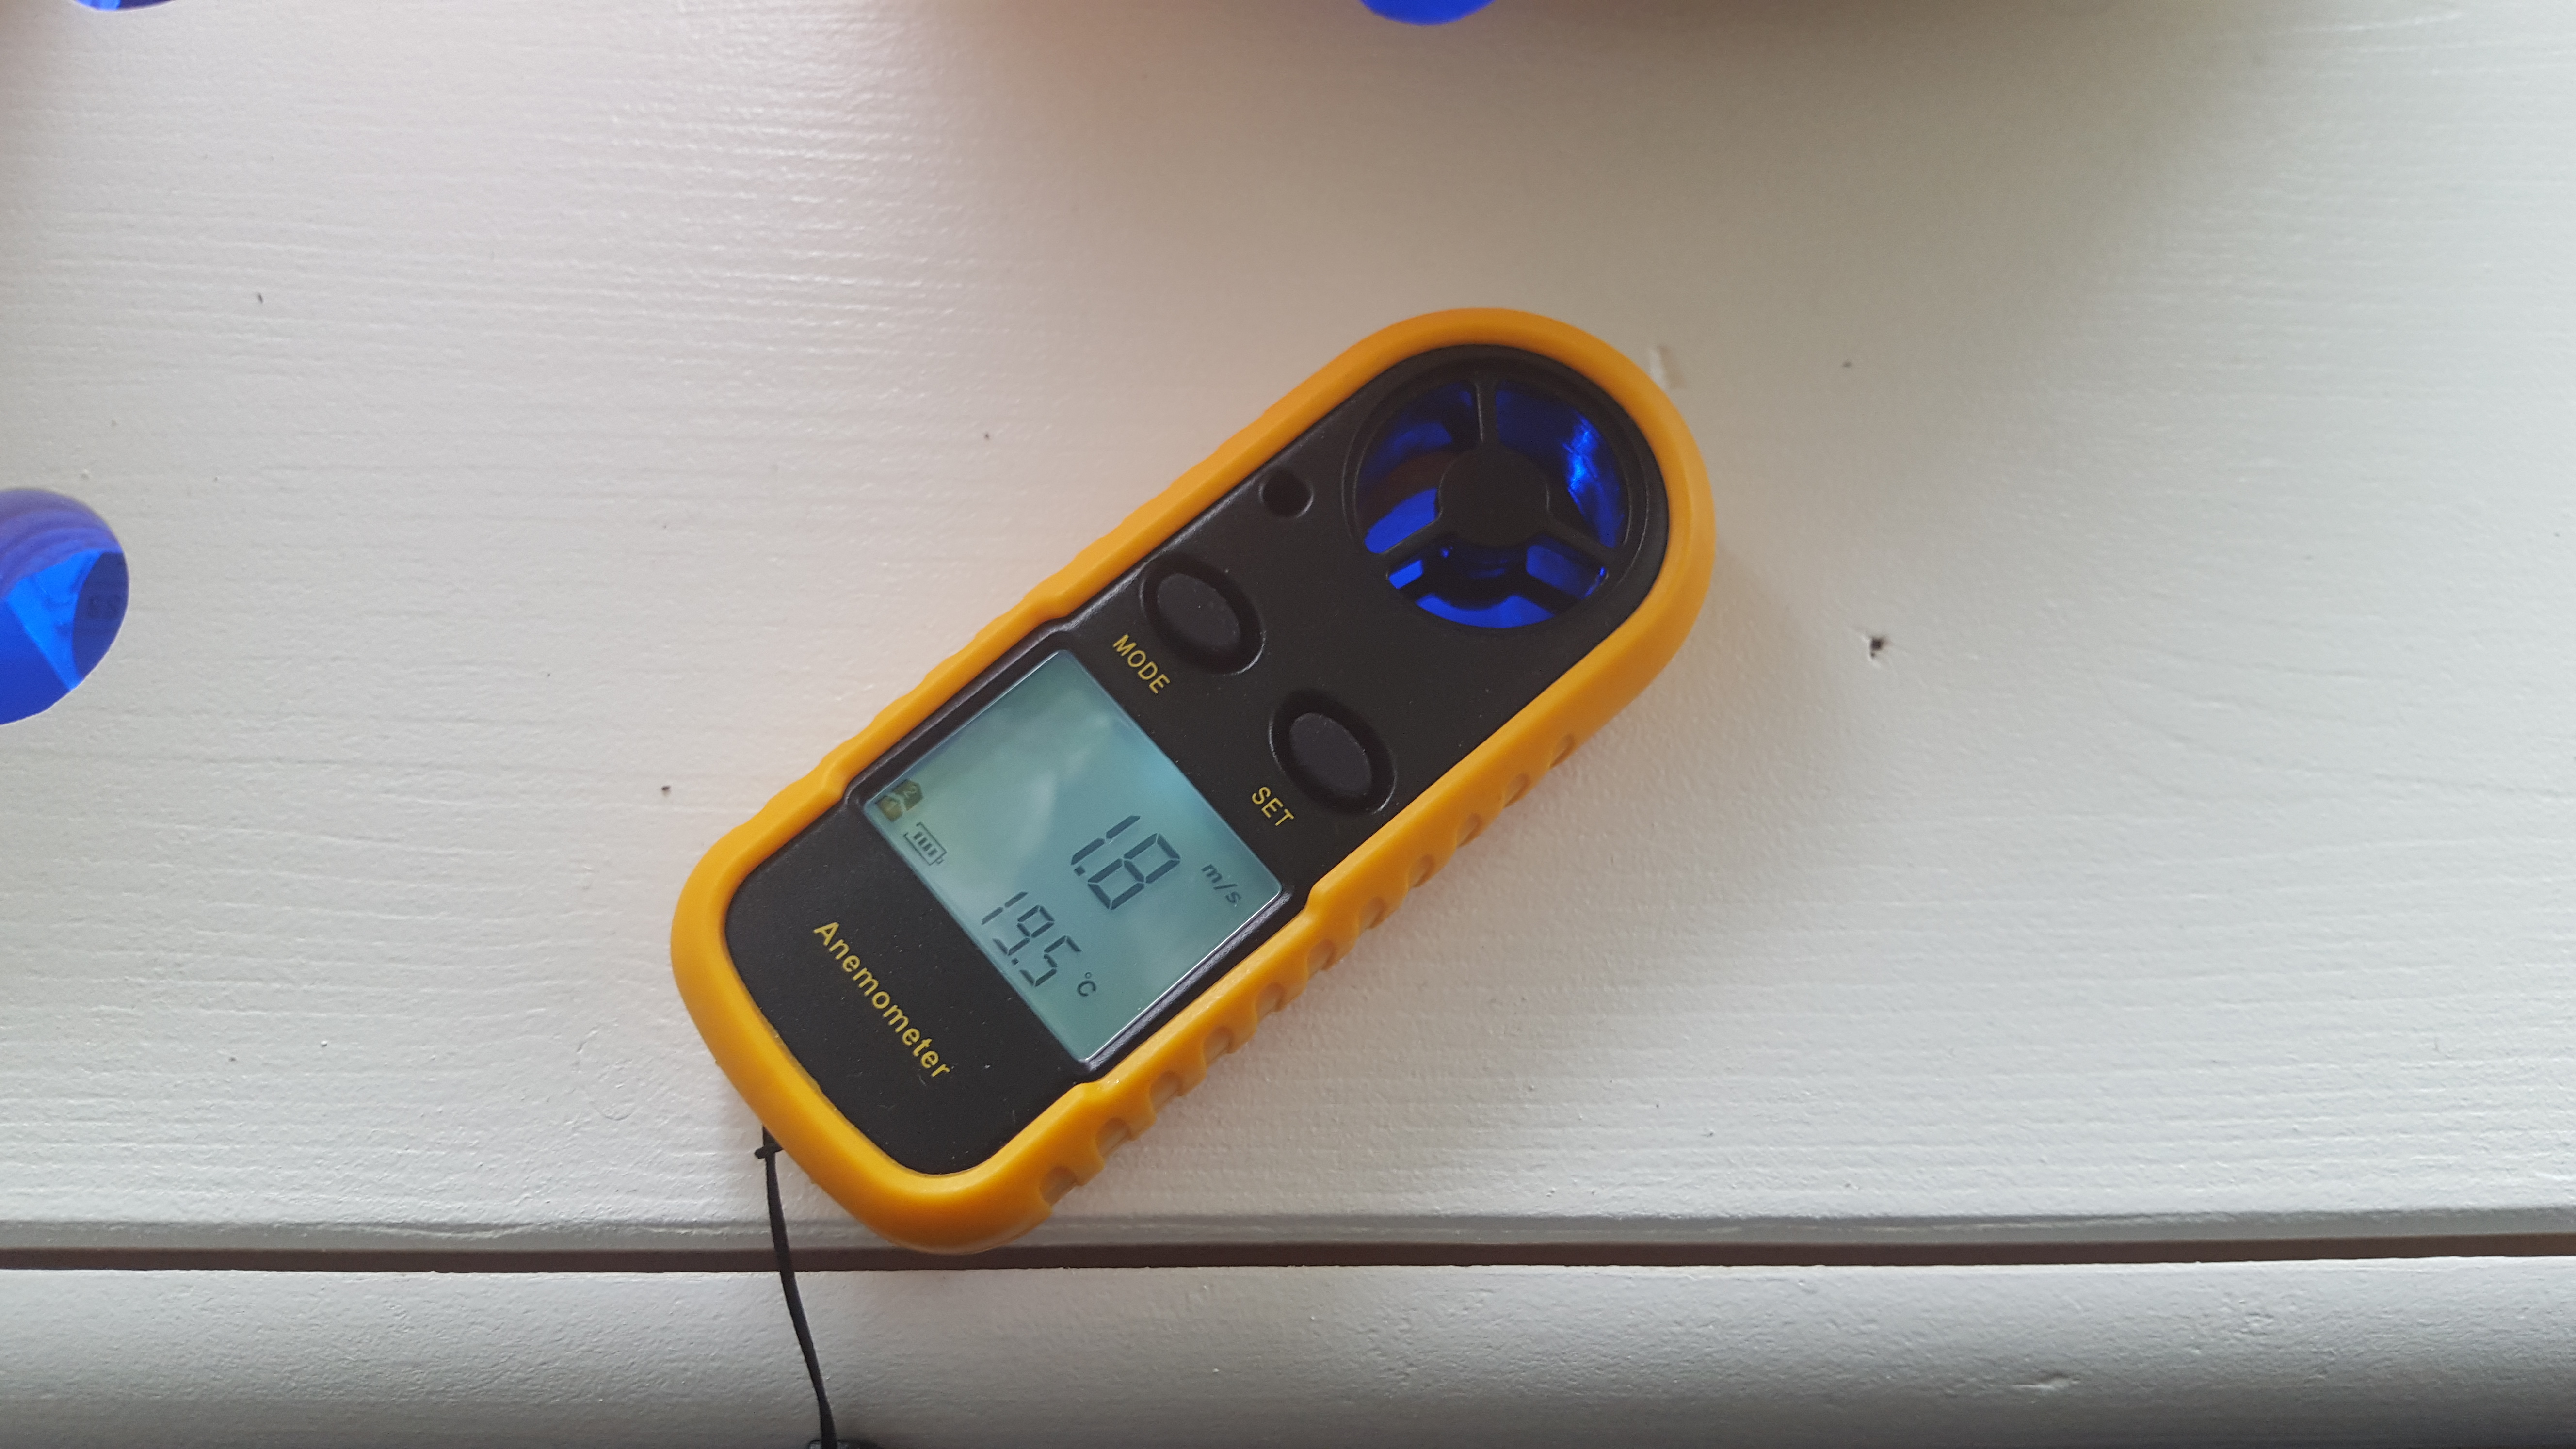
After using it for a while, I can make the conclusion that this works. I am able to heat the room in a faster time span, hence having less of these ‘ticks’ on my measuring device, resulting in paying less to get the same result.
In a future post I will provide data from previous years vs this years outside temperature, different in-house temperature measurements and the coasts of heating the living room.
In my Vera3 environment this looks like

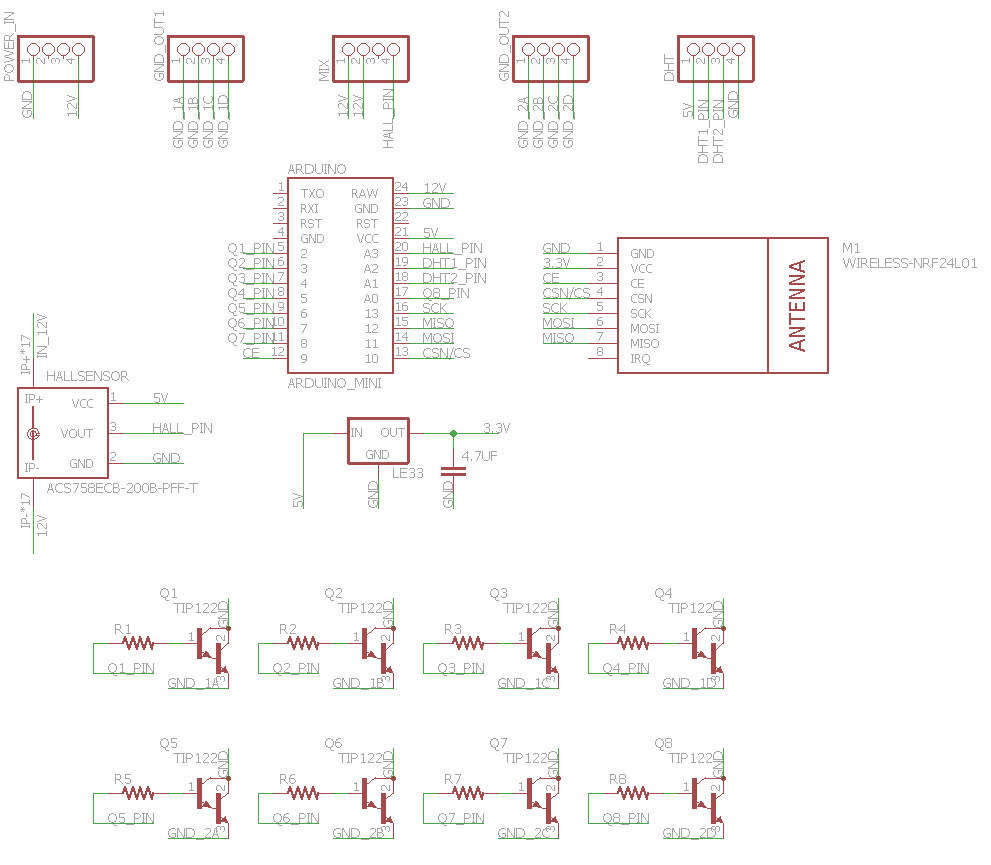
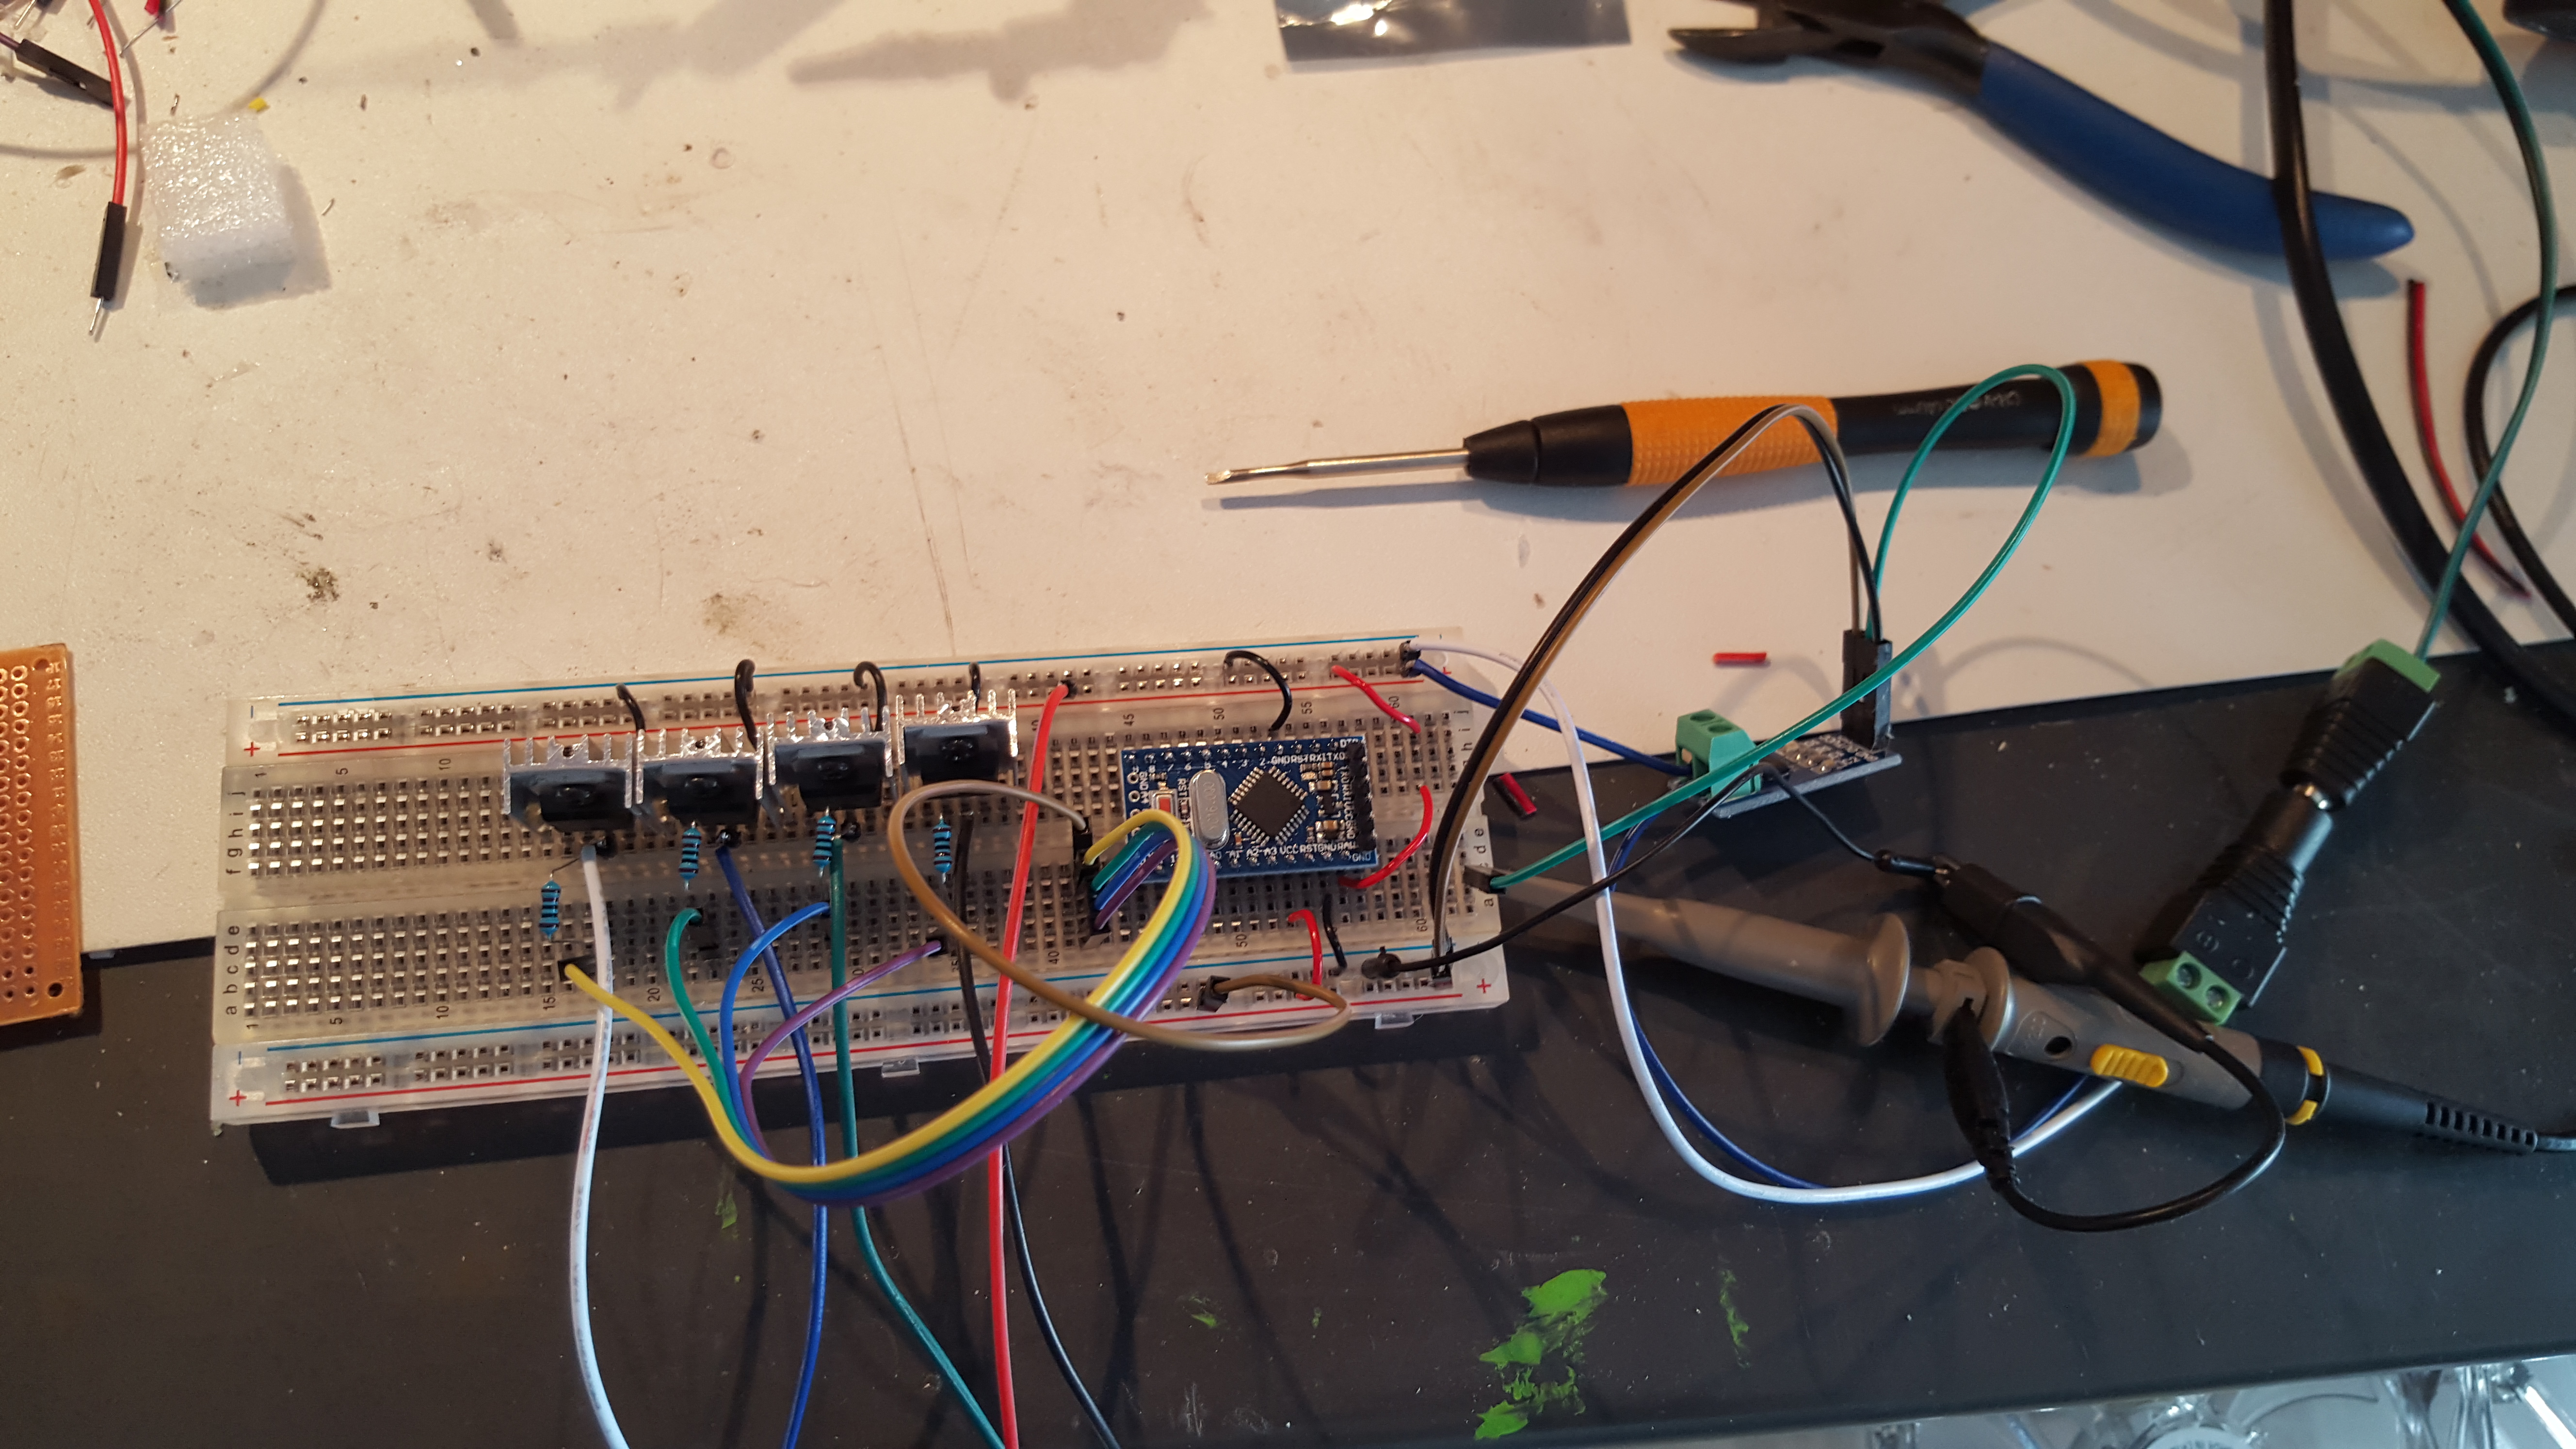
Eagle layout
Arduino code
All the code can be found on my github: https://github.com/timdows/AMD/tree/master/HeaterFans
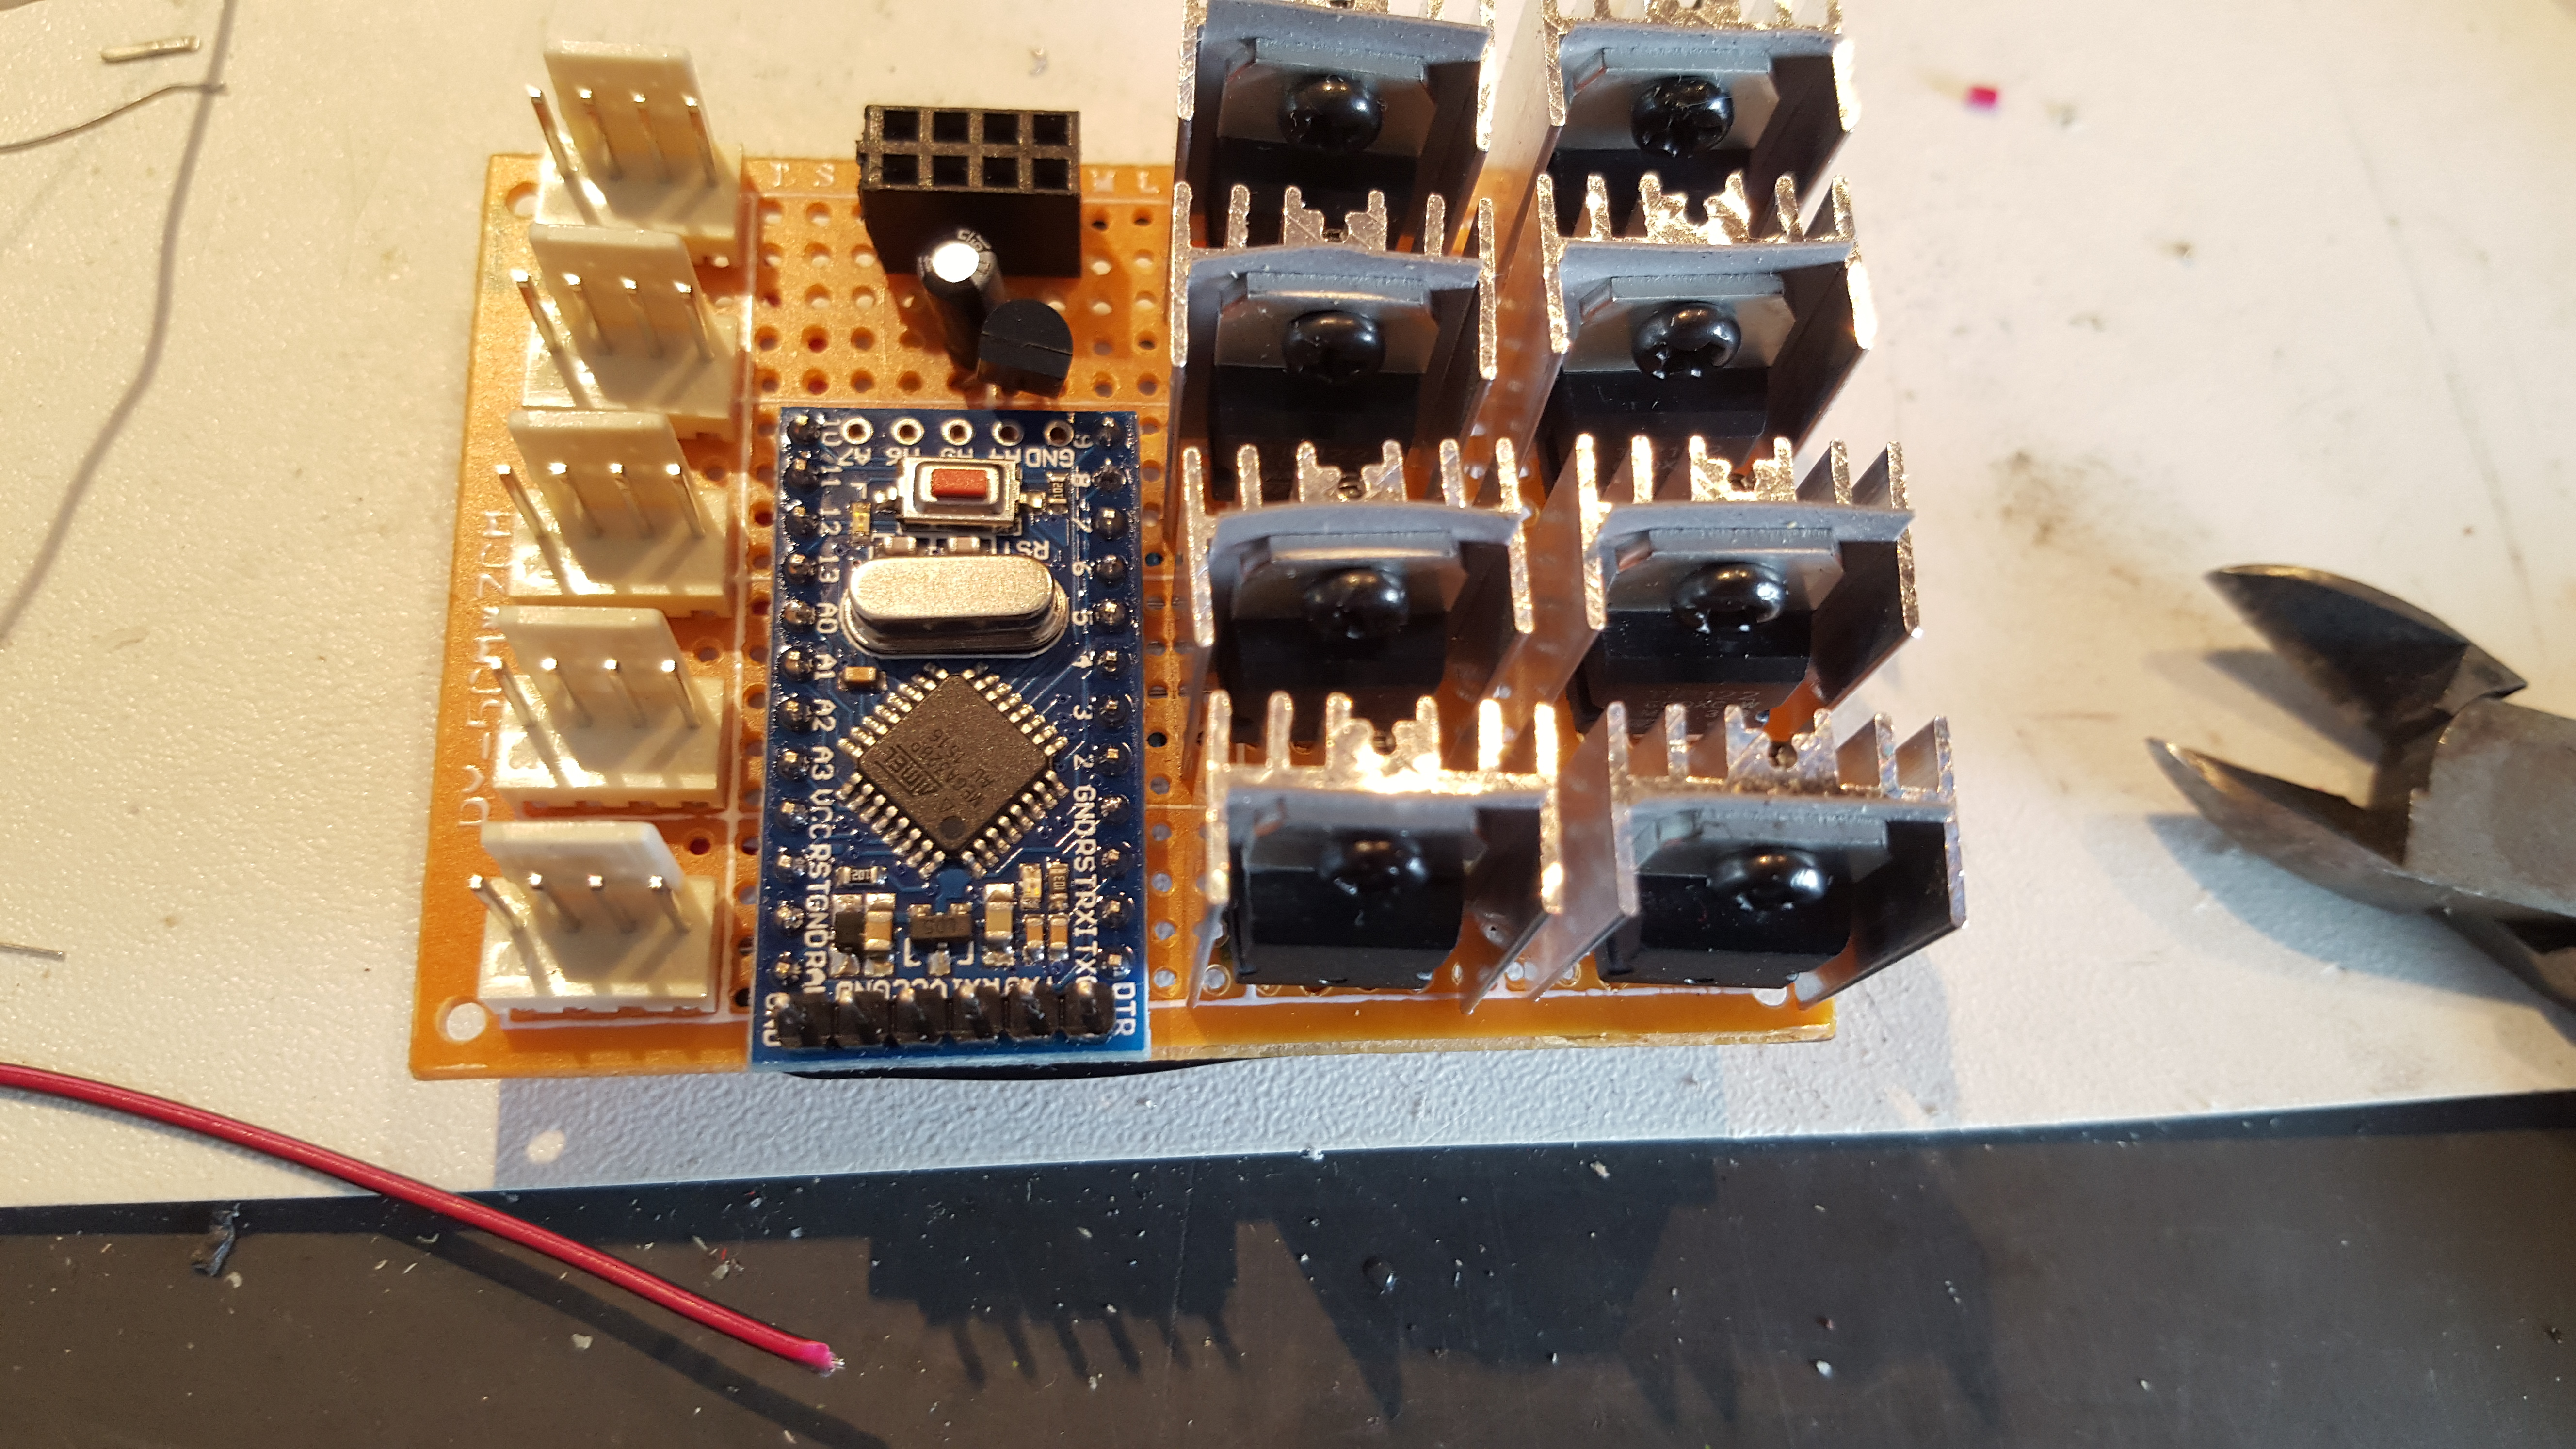
Heater_Fan.ino sets up the MySensor, ACS712, two DHTClass and 8 FanController objects.
At the setup all these objects’ Init methods are called and the gateways callback function is set to incomingMessage.
In the loop the gateway, asc712 and dht objects are updated via their public methods.
Upon an incoming message from the gateway the function incomingMessage is executed and checks if a V_LIGHT type has been received. By checking the sensor vs the differed CHILD_IDs the correct fan can be switched on or off.
The ASC712 class reads the current value on the analog pin. By applying the following formula the wattage is calculated and send out to the gateway:
abs(2550 – (pinValue * (5.0 / 1023.0)) * 1000)) / 185
As I use the 5Amp version of the ASC712, the mV per Amp is 185. The offset of 2550 was measured during standby and comparing the formula output with a multi-meter.
The DHTClass class reads the current values of its DHT11 sensor, this value is then send back via the mySensorGatweway. The check only takes place when the update function has not been called for 60 seconds.
The FanController class makes sure that the TIP122 transistor is turned on or off, hence enabling or disabling the fans. After changing the value on the pin, the mySensorGateway is informed about this.
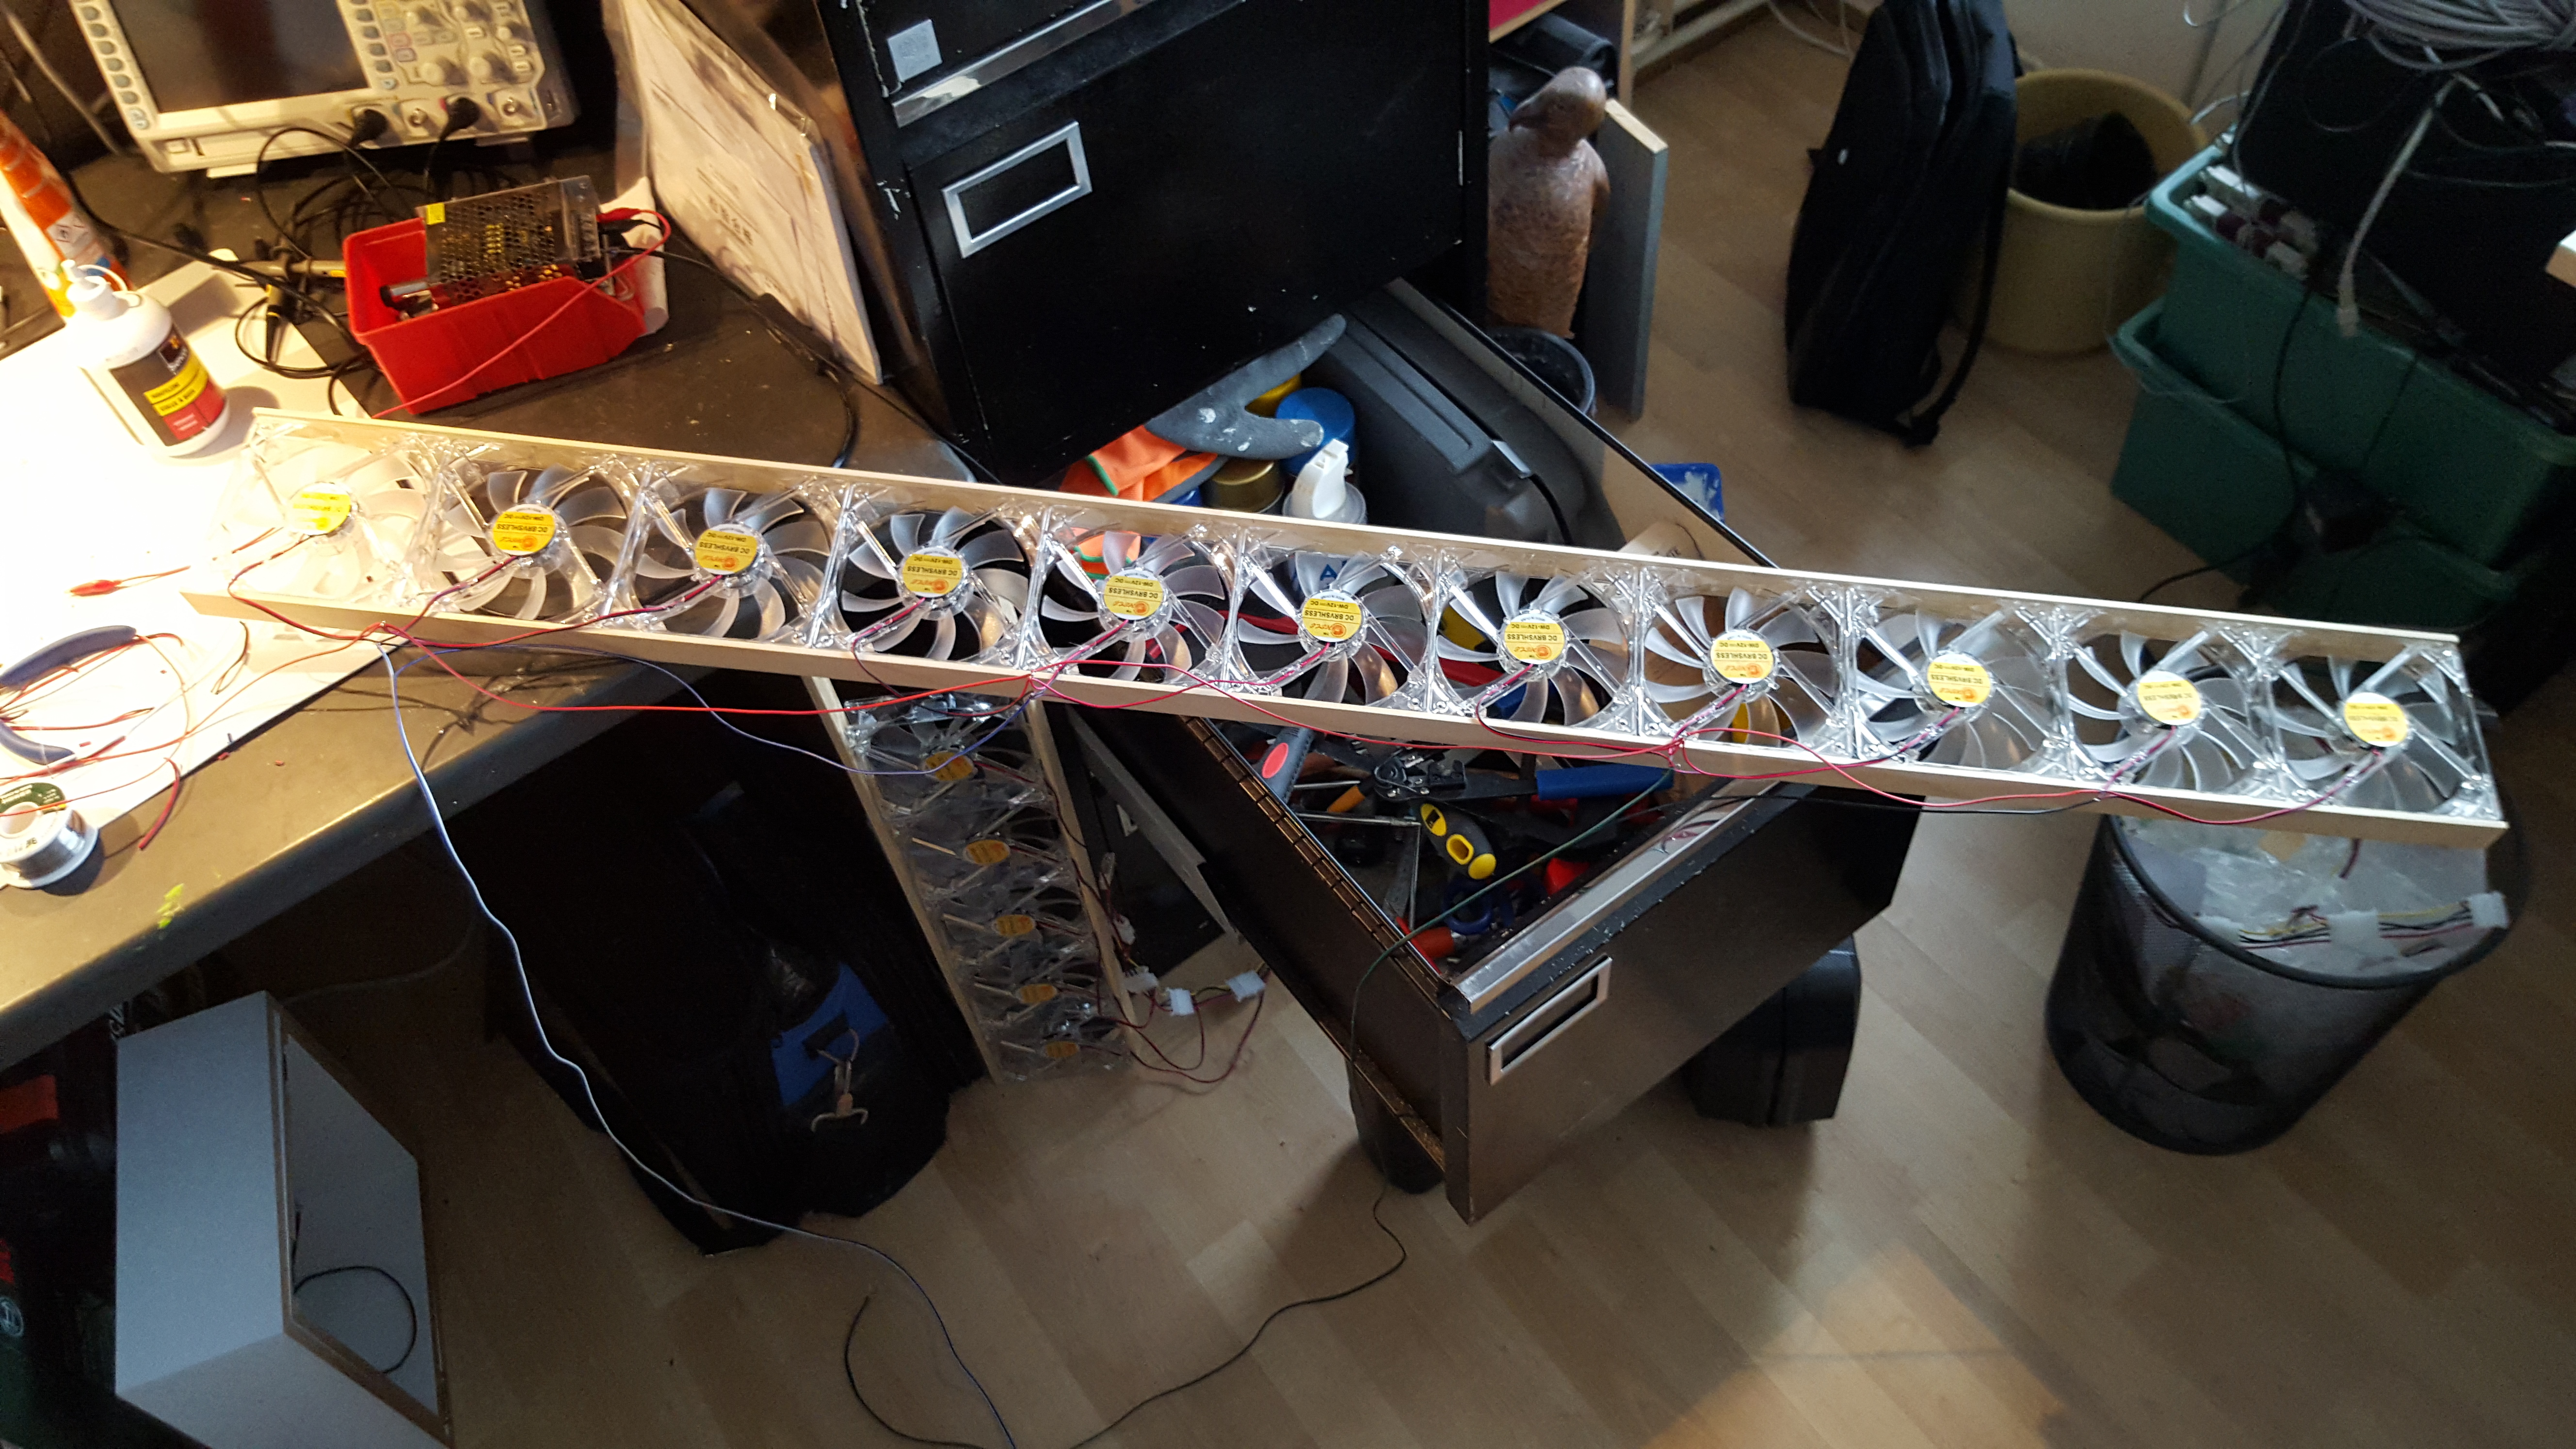
End result


TODO
- Build the second bar of fans
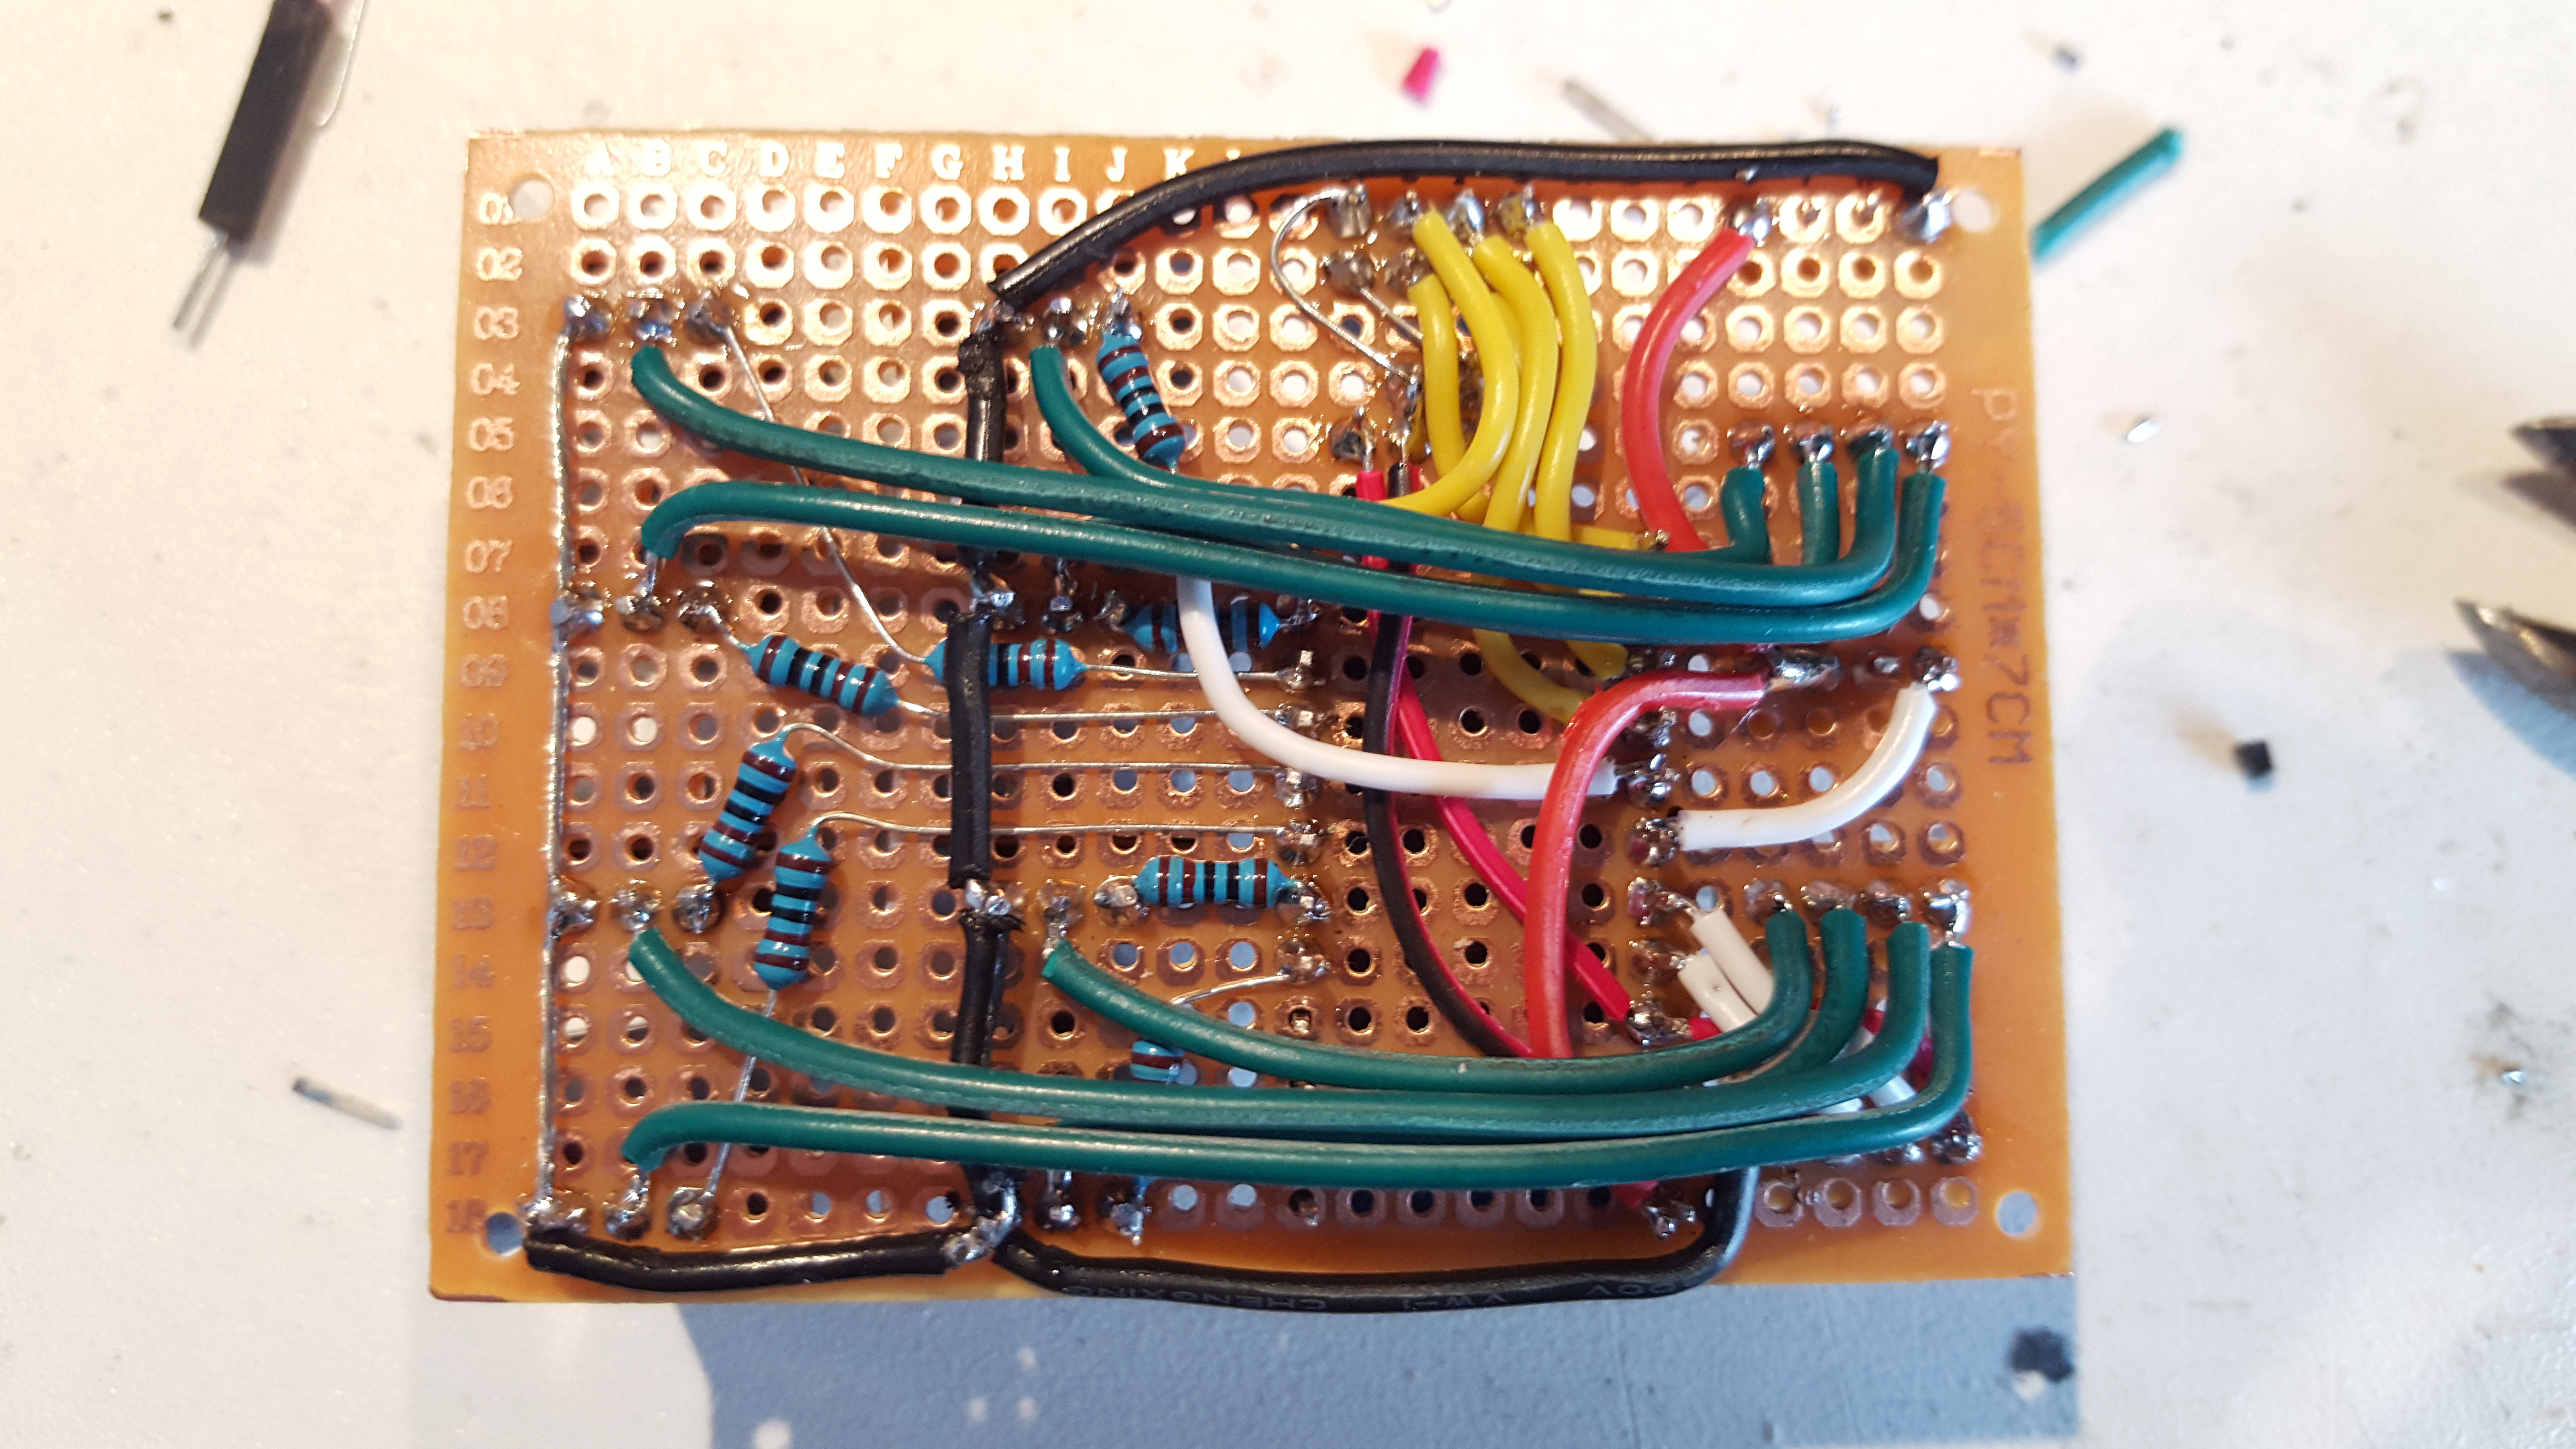
- Make the cable tree nicer
- Create a housing for the protoboard
Project costs in € or $
| Object | Price |
|---|---|
| Arduino Pro Mini 5V | $ 1.92 |
| 8 x TIP122 with heat sink | $ 3.06 |
| NRF24L01 | $ 0.86 |
| 5A ACS712 | $ 1.81 |
| 25 120mm fans | $ 56.25 (excluding import taxes) |
| 12 volt 3 amps power supply | $ 0 (got it from work) |
| Other materials | $ 5 |
| Total | $ 68.90 |
What could be better
- This project took way to long, this was due to trying to have the fans speed controlled. After creating a low-pass filter it struck me that I would not want the fans to spin if the radiator was cold, and on full speed when it was warm/hot. Hence just or on or off.
Comments are closed.